Not sure how to get started with all of the features of the Offline Order Importer app? Here is a quick guide on how to install and use the app.
Installation Guide
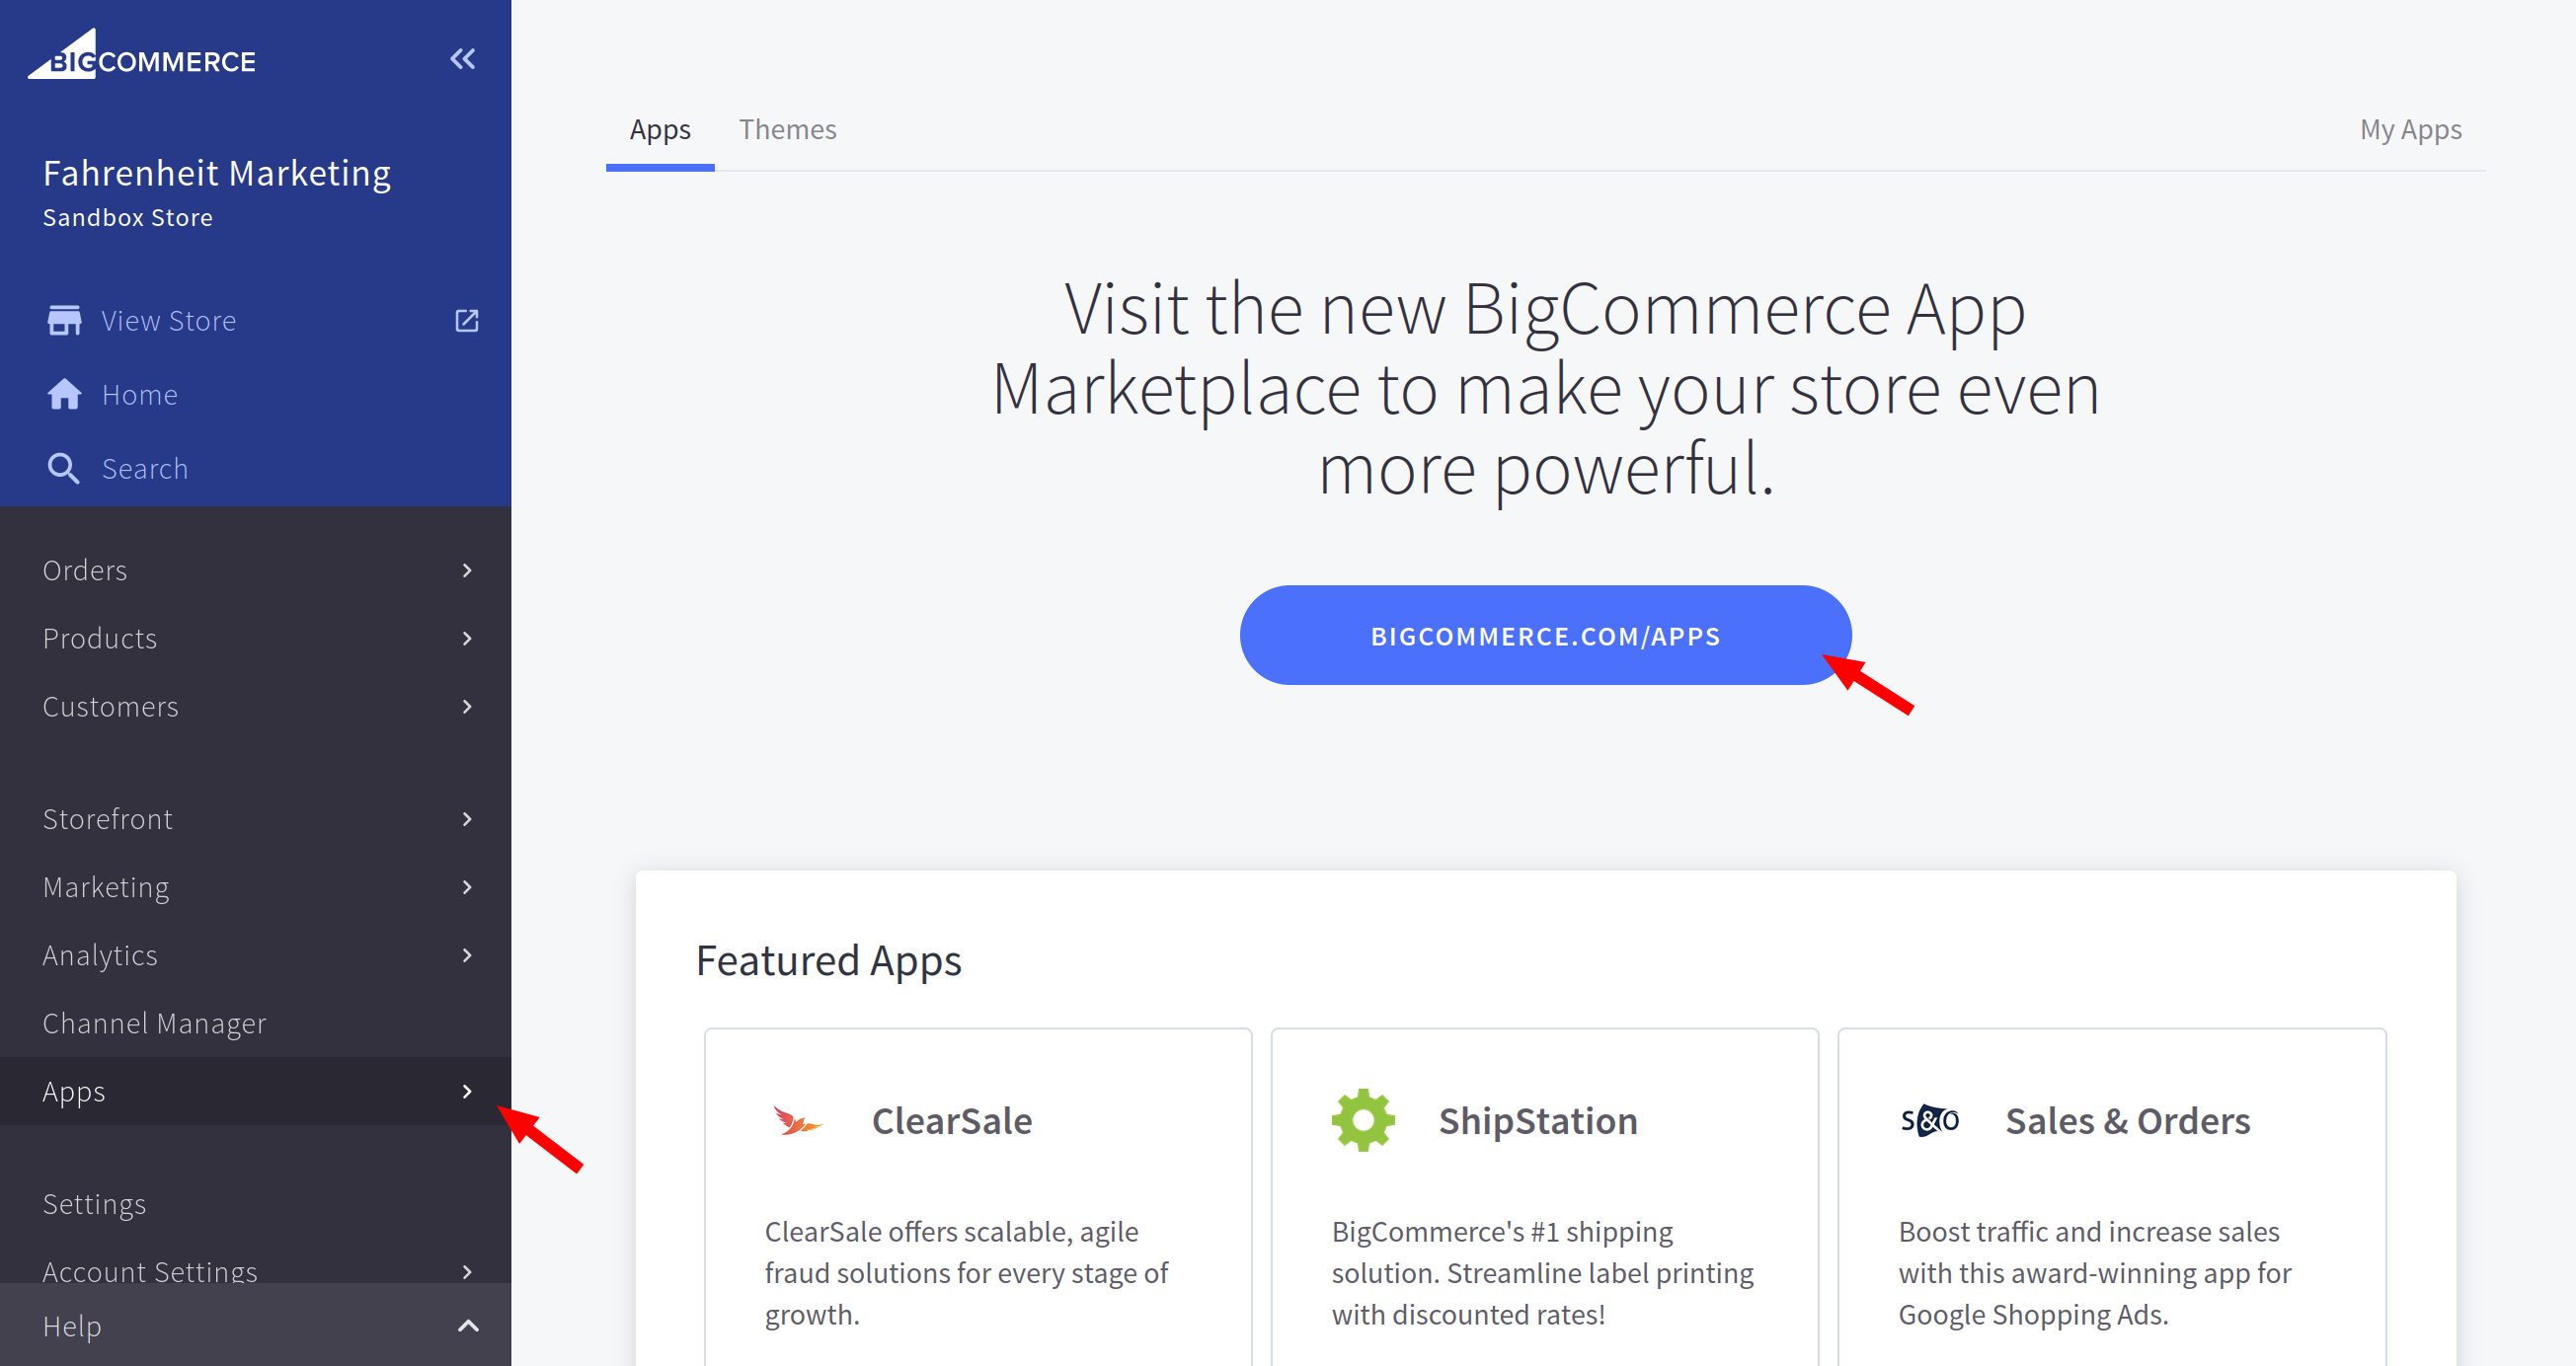
1. Log in to your BigCommerce store and go to the “Apps” > “Marketplace” page on the sidebar. Click on the “BIGCOMMERCE.COM/APPS” button to open the BigCommerce App Marketplace.
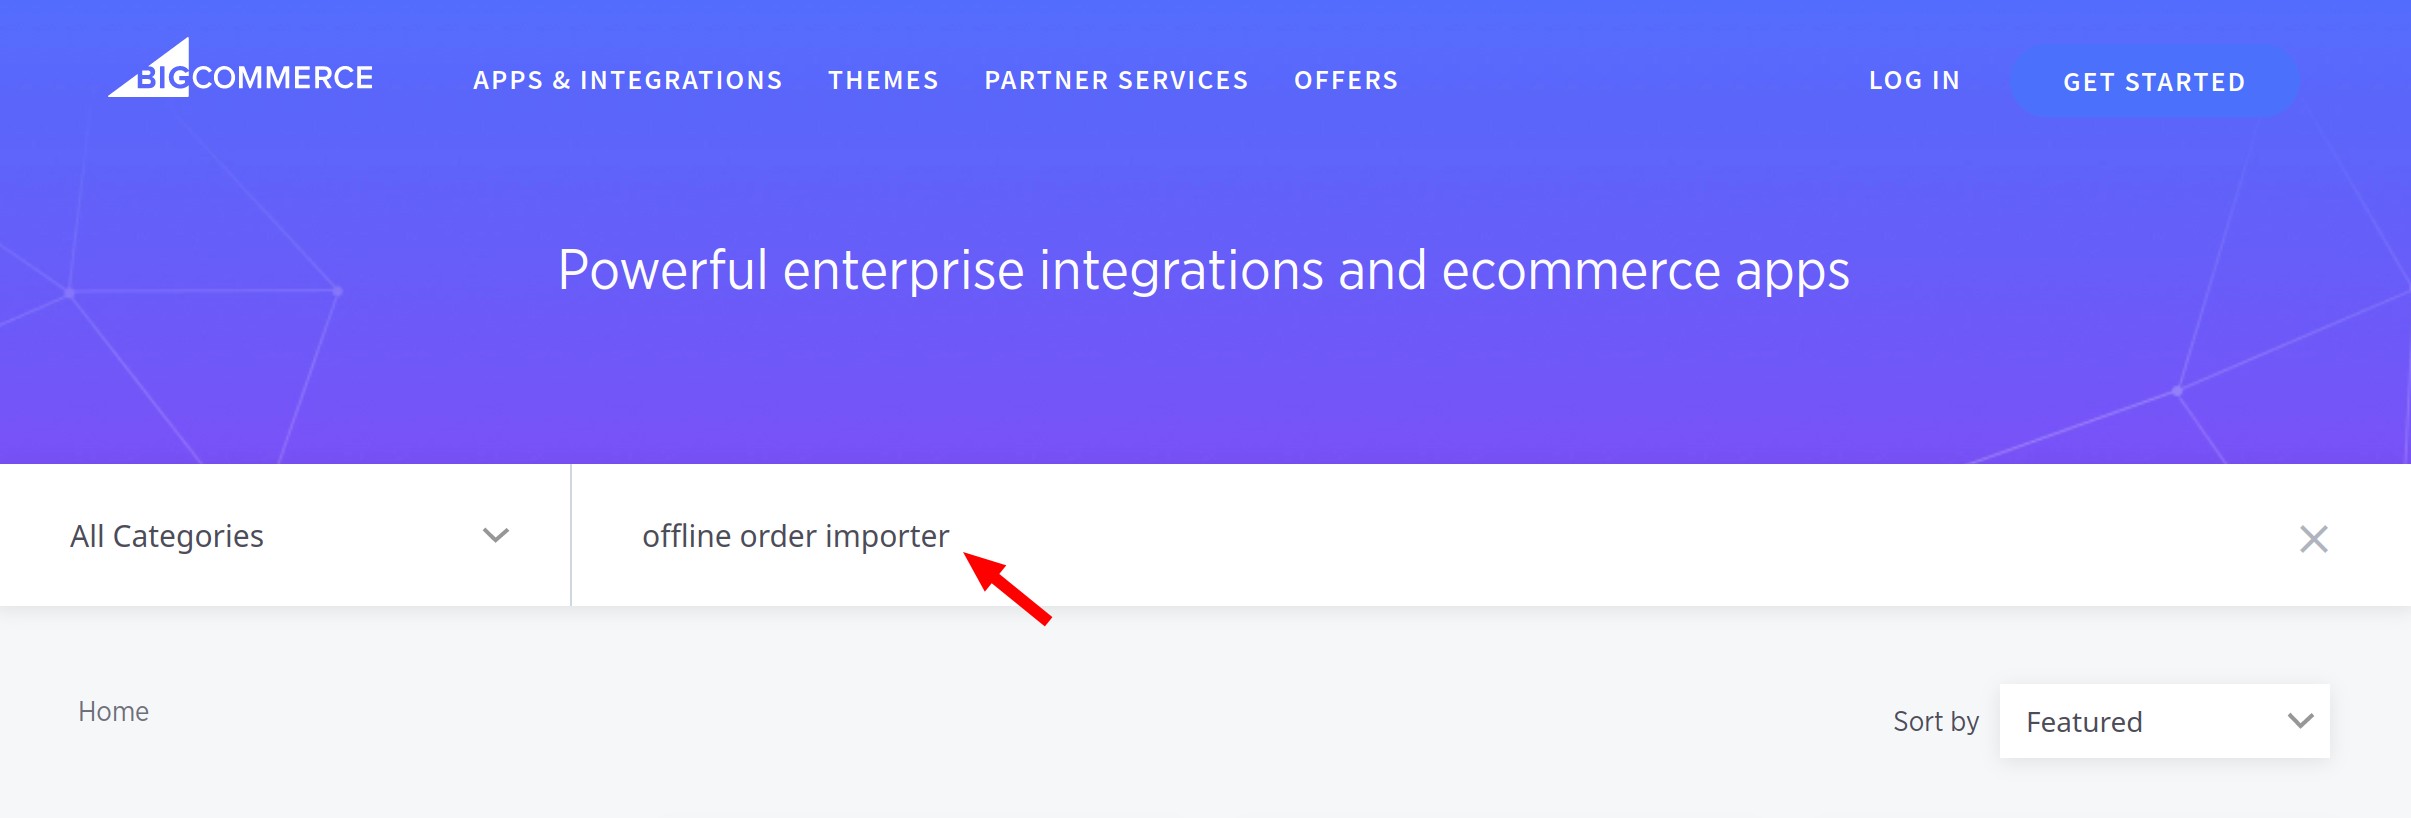
2. Search the BigCommerce App Marketplace to find the Offline Order Importer app.
3. Click on “GET THIS APP” to begin installing the app.

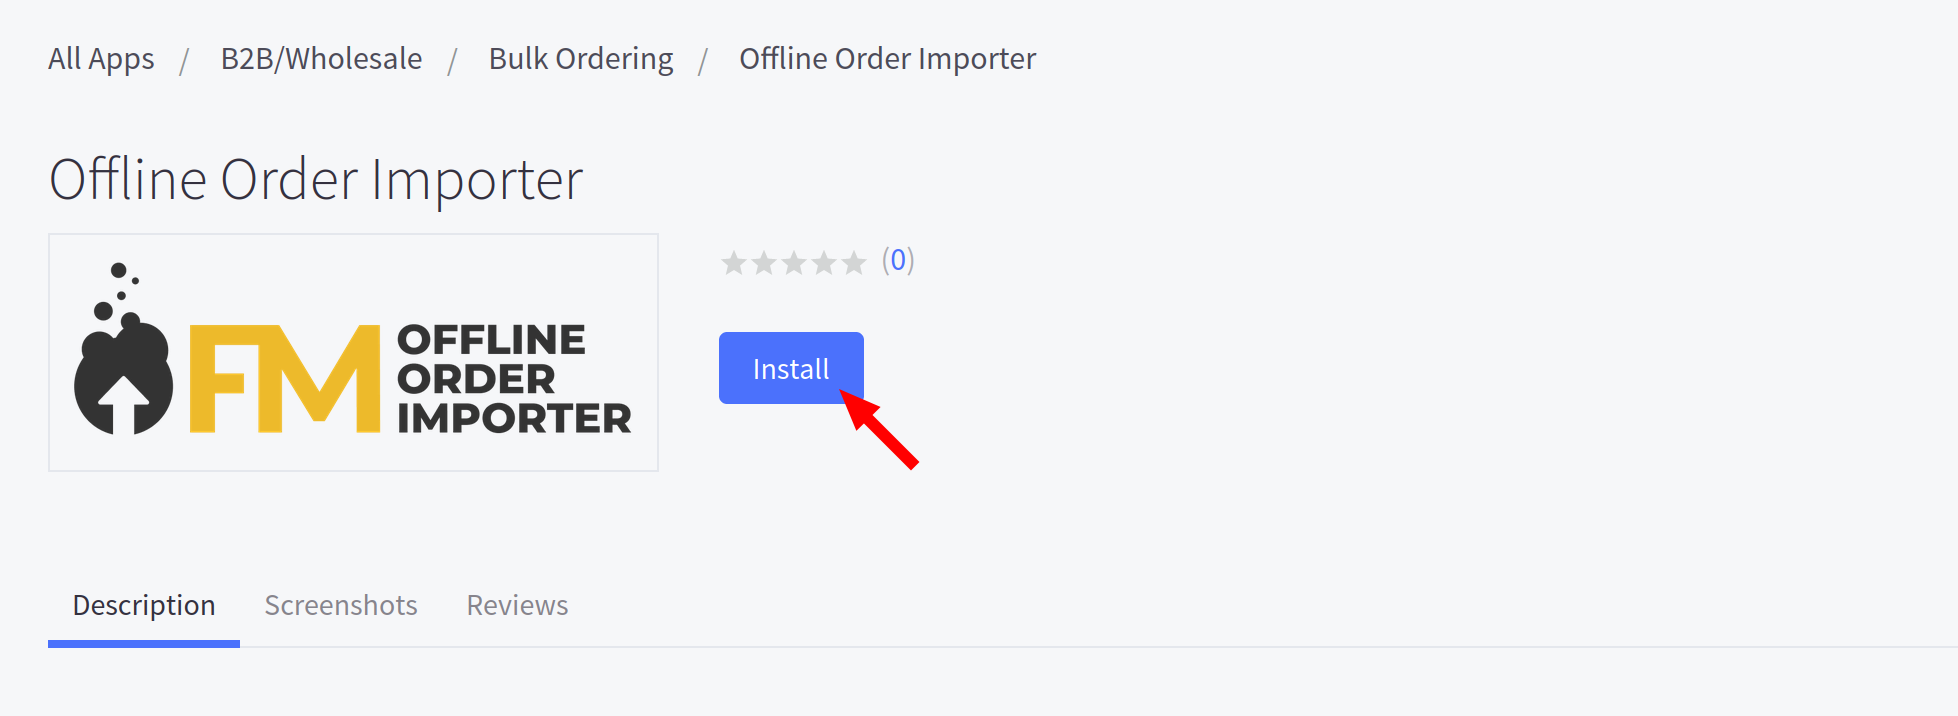
3. Click on “Install” to install the app.
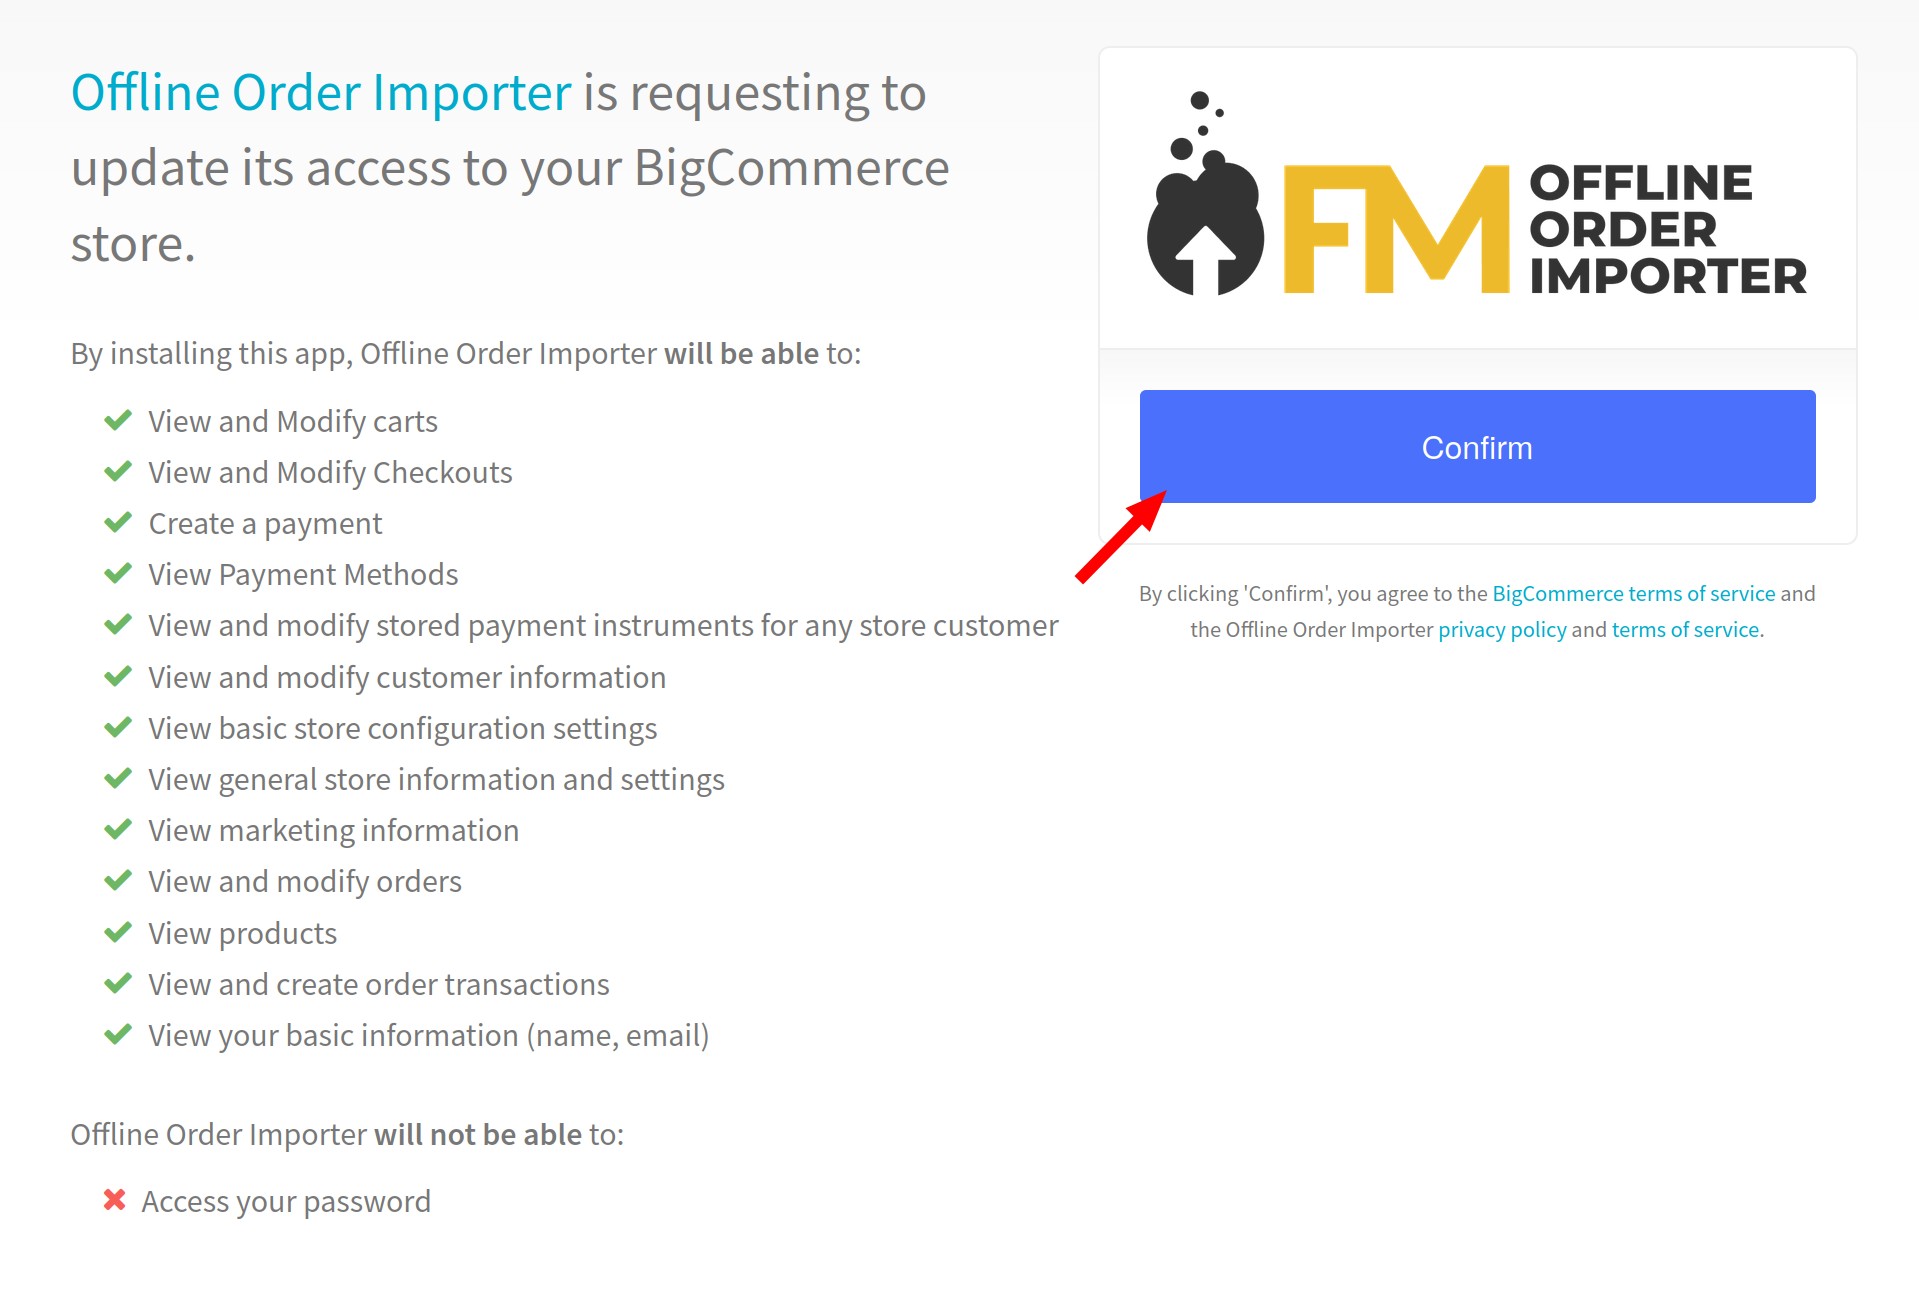
4. Click on “Confirm” to confirm the installation.
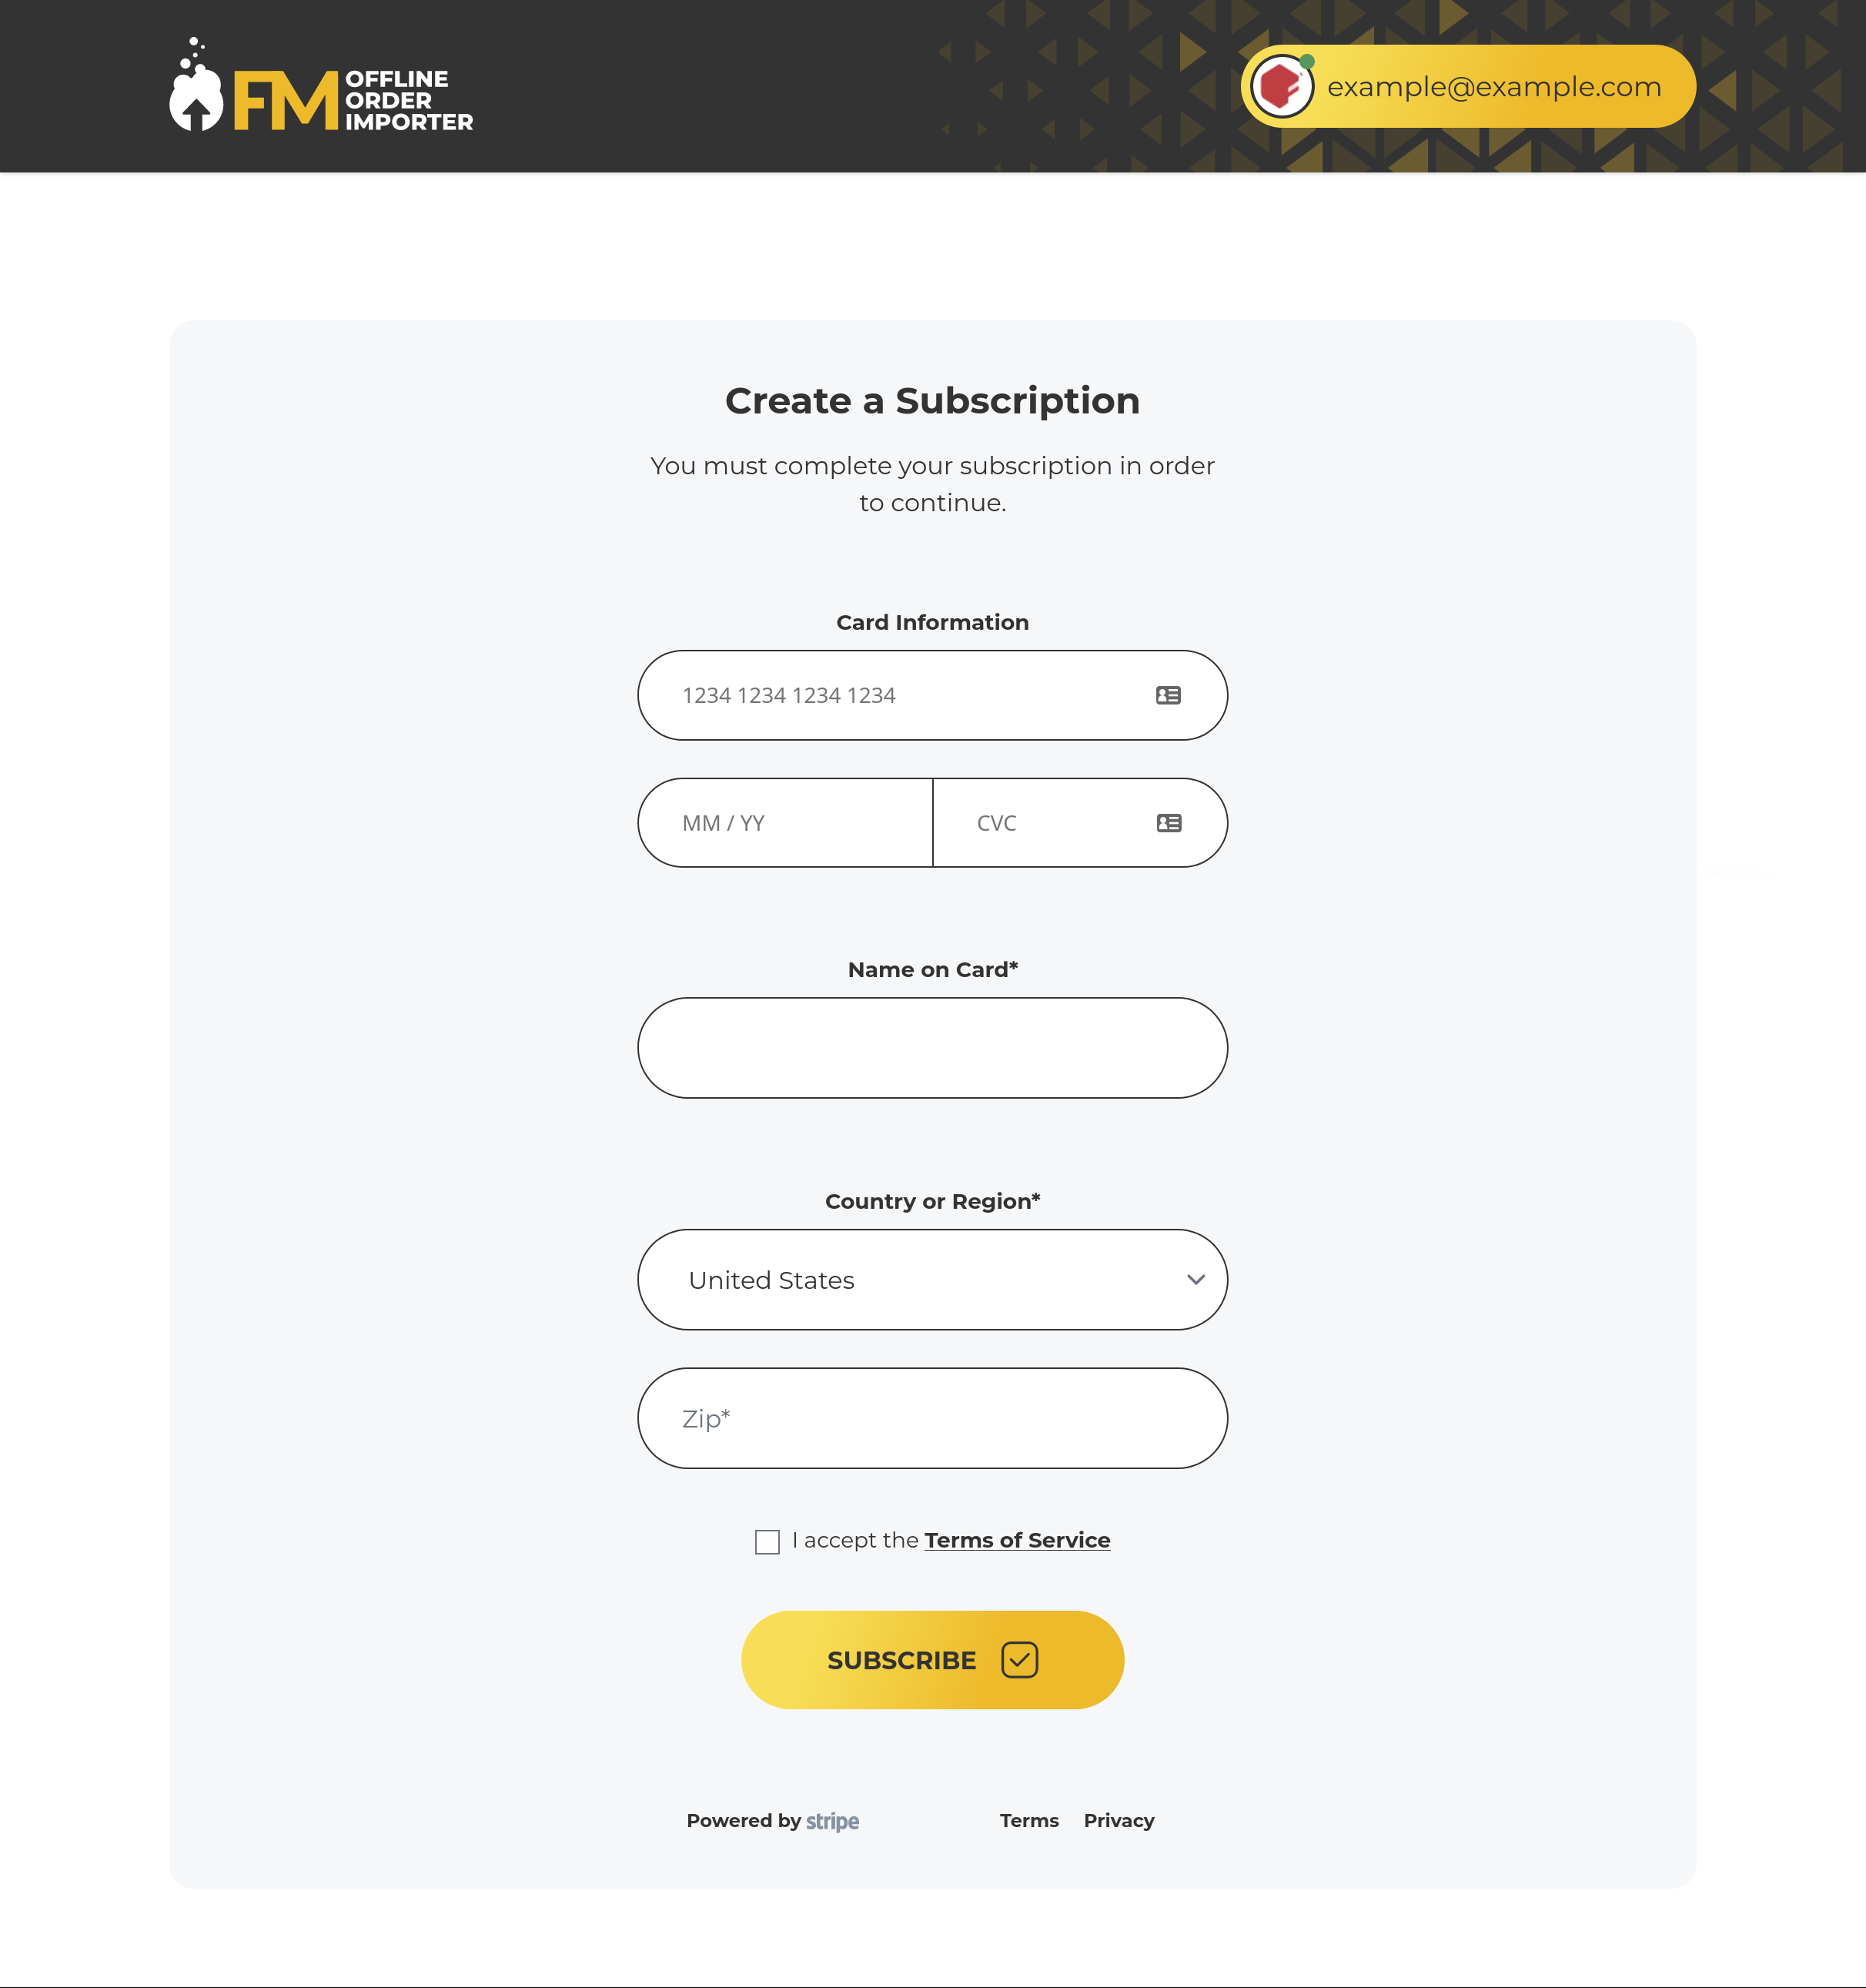
5. Enter your payment details into the app payment setup page to activate the app.
User Guide
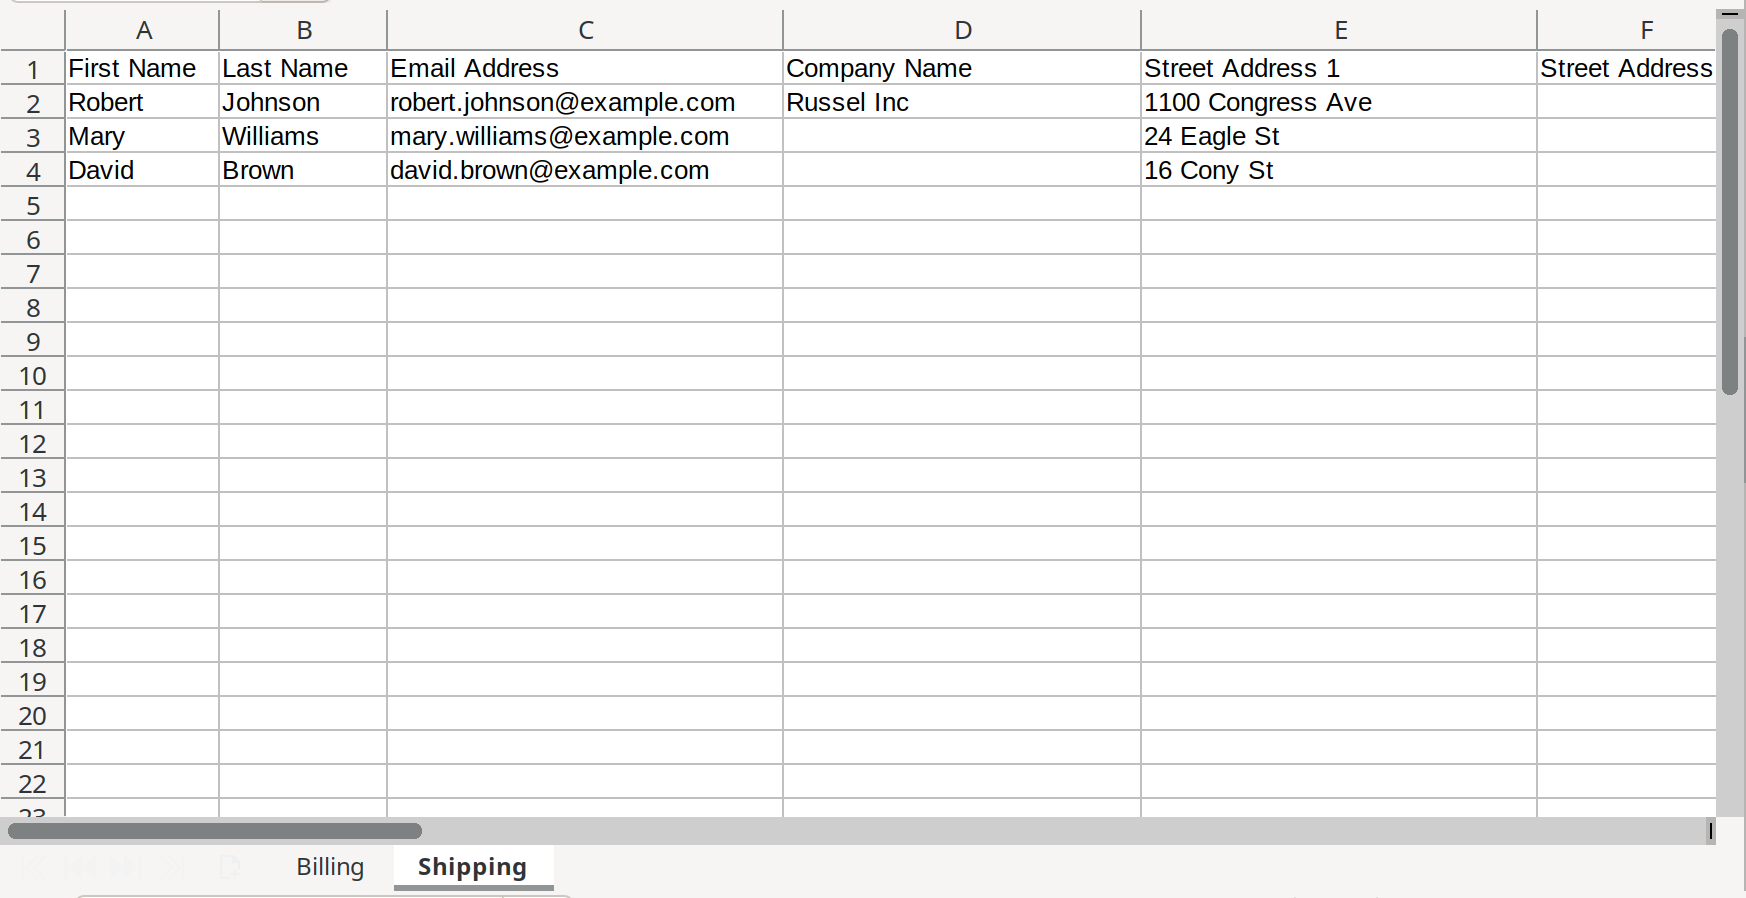
The Offline Order Importer app allows you to easily import large orders into your store using Excel spreadsheets. You can download an example Excel spreadsheet from the “New Upload” page in the app to use as a starter template (see the instructions below on how to find this). There are two tabs within this Excel template. Each provides an intuitive method to input key order information:
The Shipping Tab: This tab includes fields such as shipping address, product SKUs and quantity, ship by dates, and custom address fields.
Note that the product SKUs used in the document must be variant SKUs, not the product SKUs. For products without options, the variant SKU is the same as the product SKU, but for products with options each unique set of options a product supports is considered a separate “variant” in BigCommerce, and each one has a unique SKU. You can learn more about how to find the SKUs for the individual variants from the documentation on product options from BigCommerce.
The Billing Tab: The billing tab is where you can input billing information such as the customer’s name, contact information, company name, billing address, and any custom coupons or promotion info.
Get started with making new orders by following these steps:
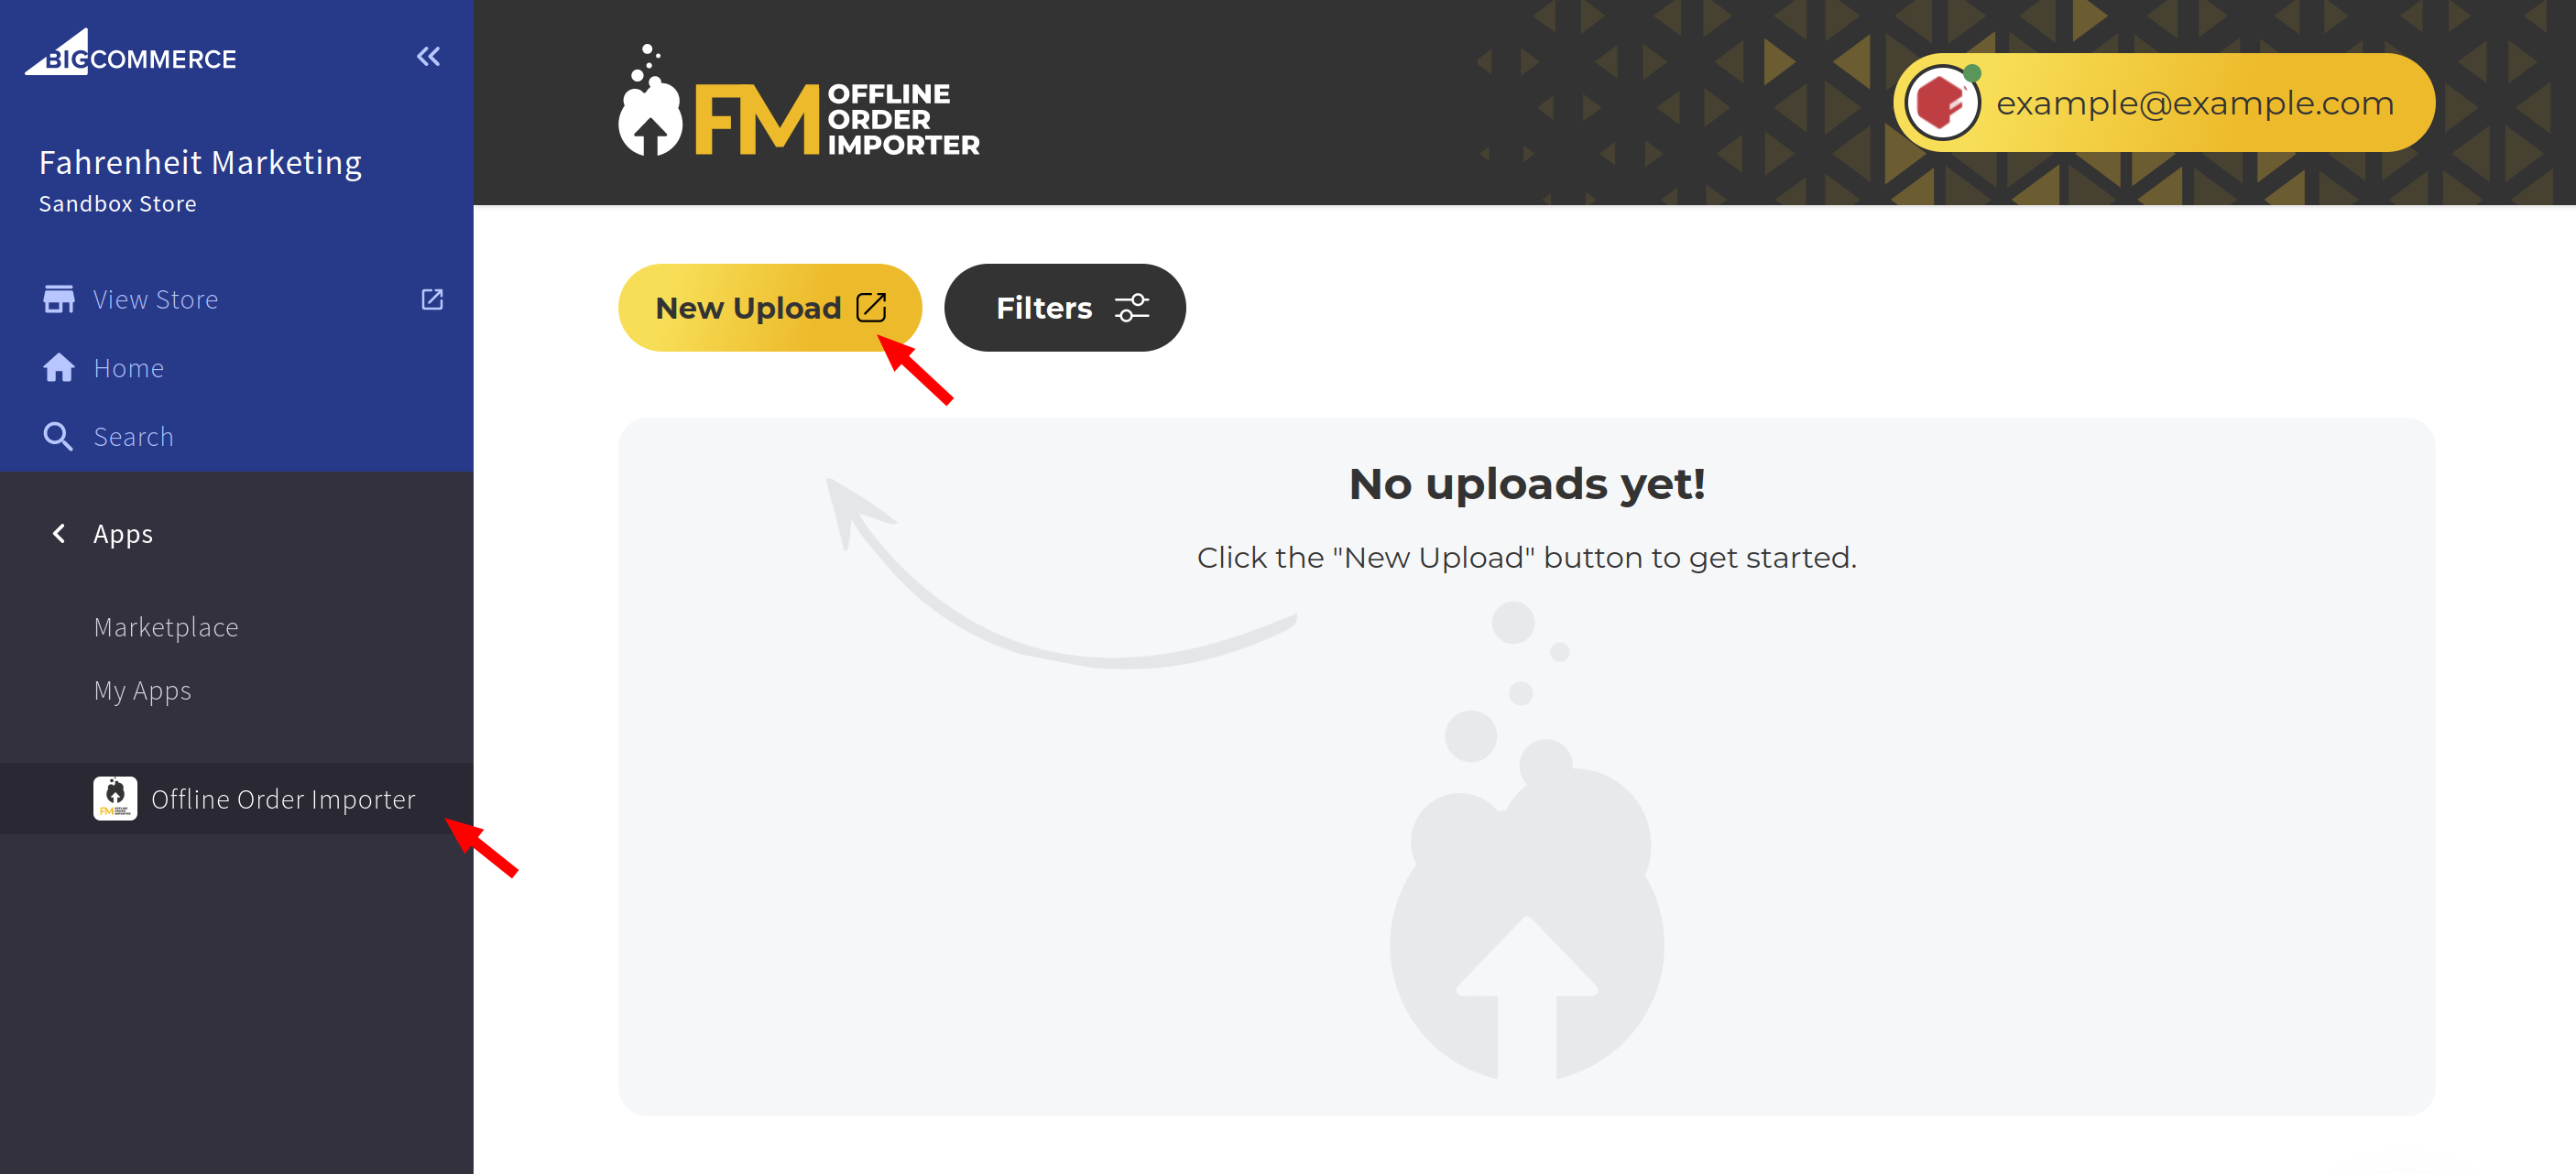
1. Log in to your BigCommerce store and go to the “Apps” > “Offline Order Importer” page on the sidebar. Click on the “New Upload” button to start the import process.
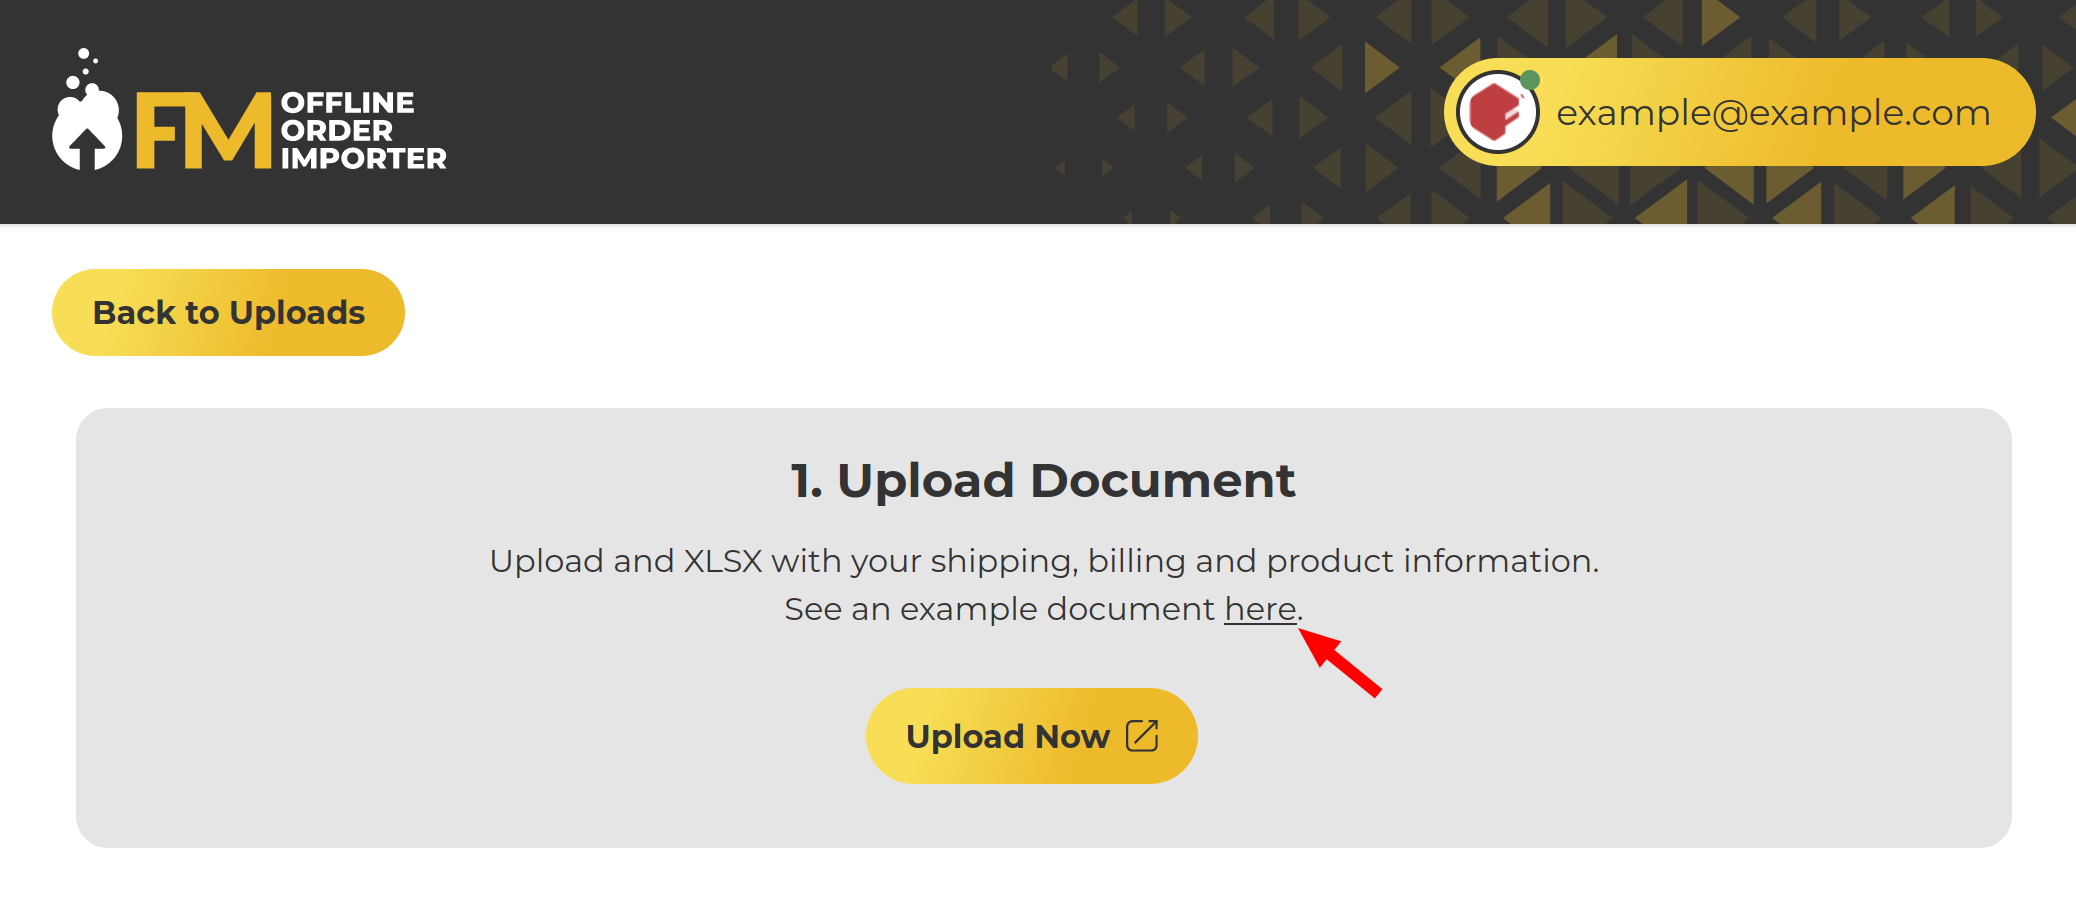
2. Click on the “See an example document here” link to download an example upload document.
3. You will need to edit the example upload document for it to pass validation. Delete the value in the “Coupons” column on the Billing sheet, and change the SKUs used in the “Product SKU (Qty)” column on the Shipping sheet to SKUs that exist on your store, then change the values in the “Shipping Method” column on the Shipping sheet to be a valid shipping method on your store (e.g. “Free Shipping”). The shipping method name must exactly match the name of the shipping method as it appears on your store’s checkout page.
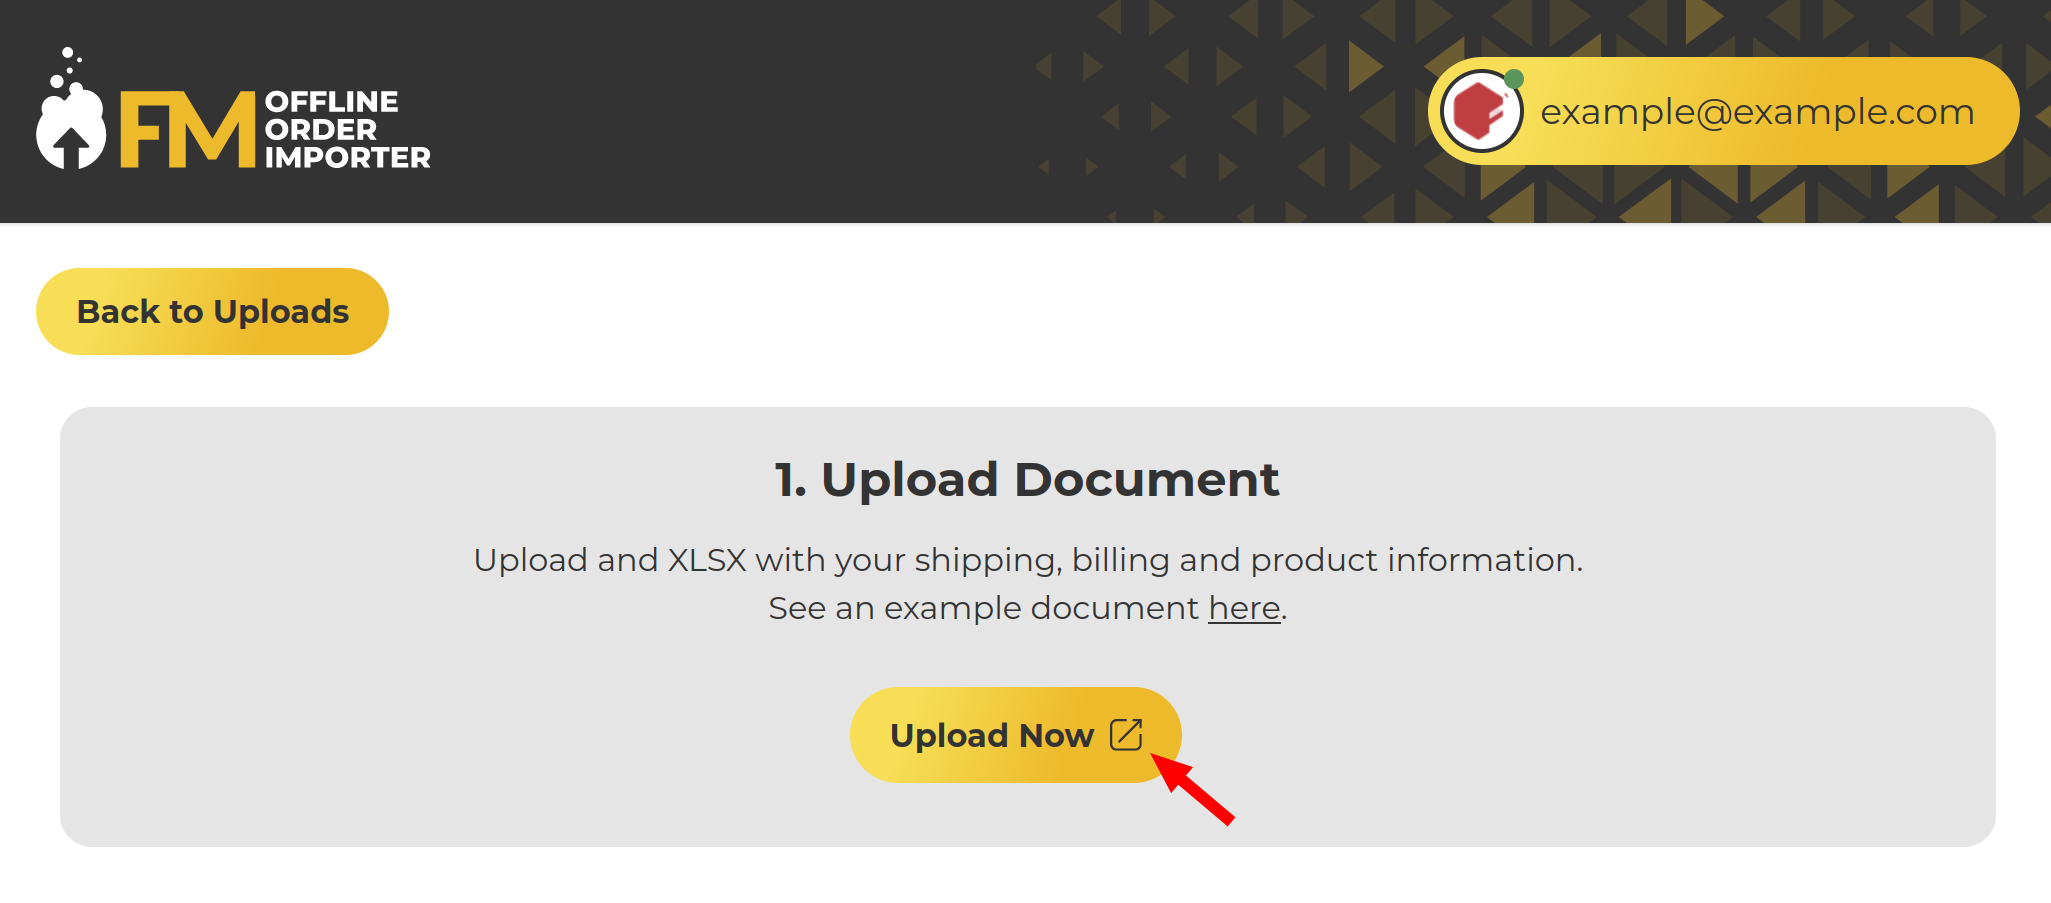
4. Click “Upload Now” and upload the edited upload document.
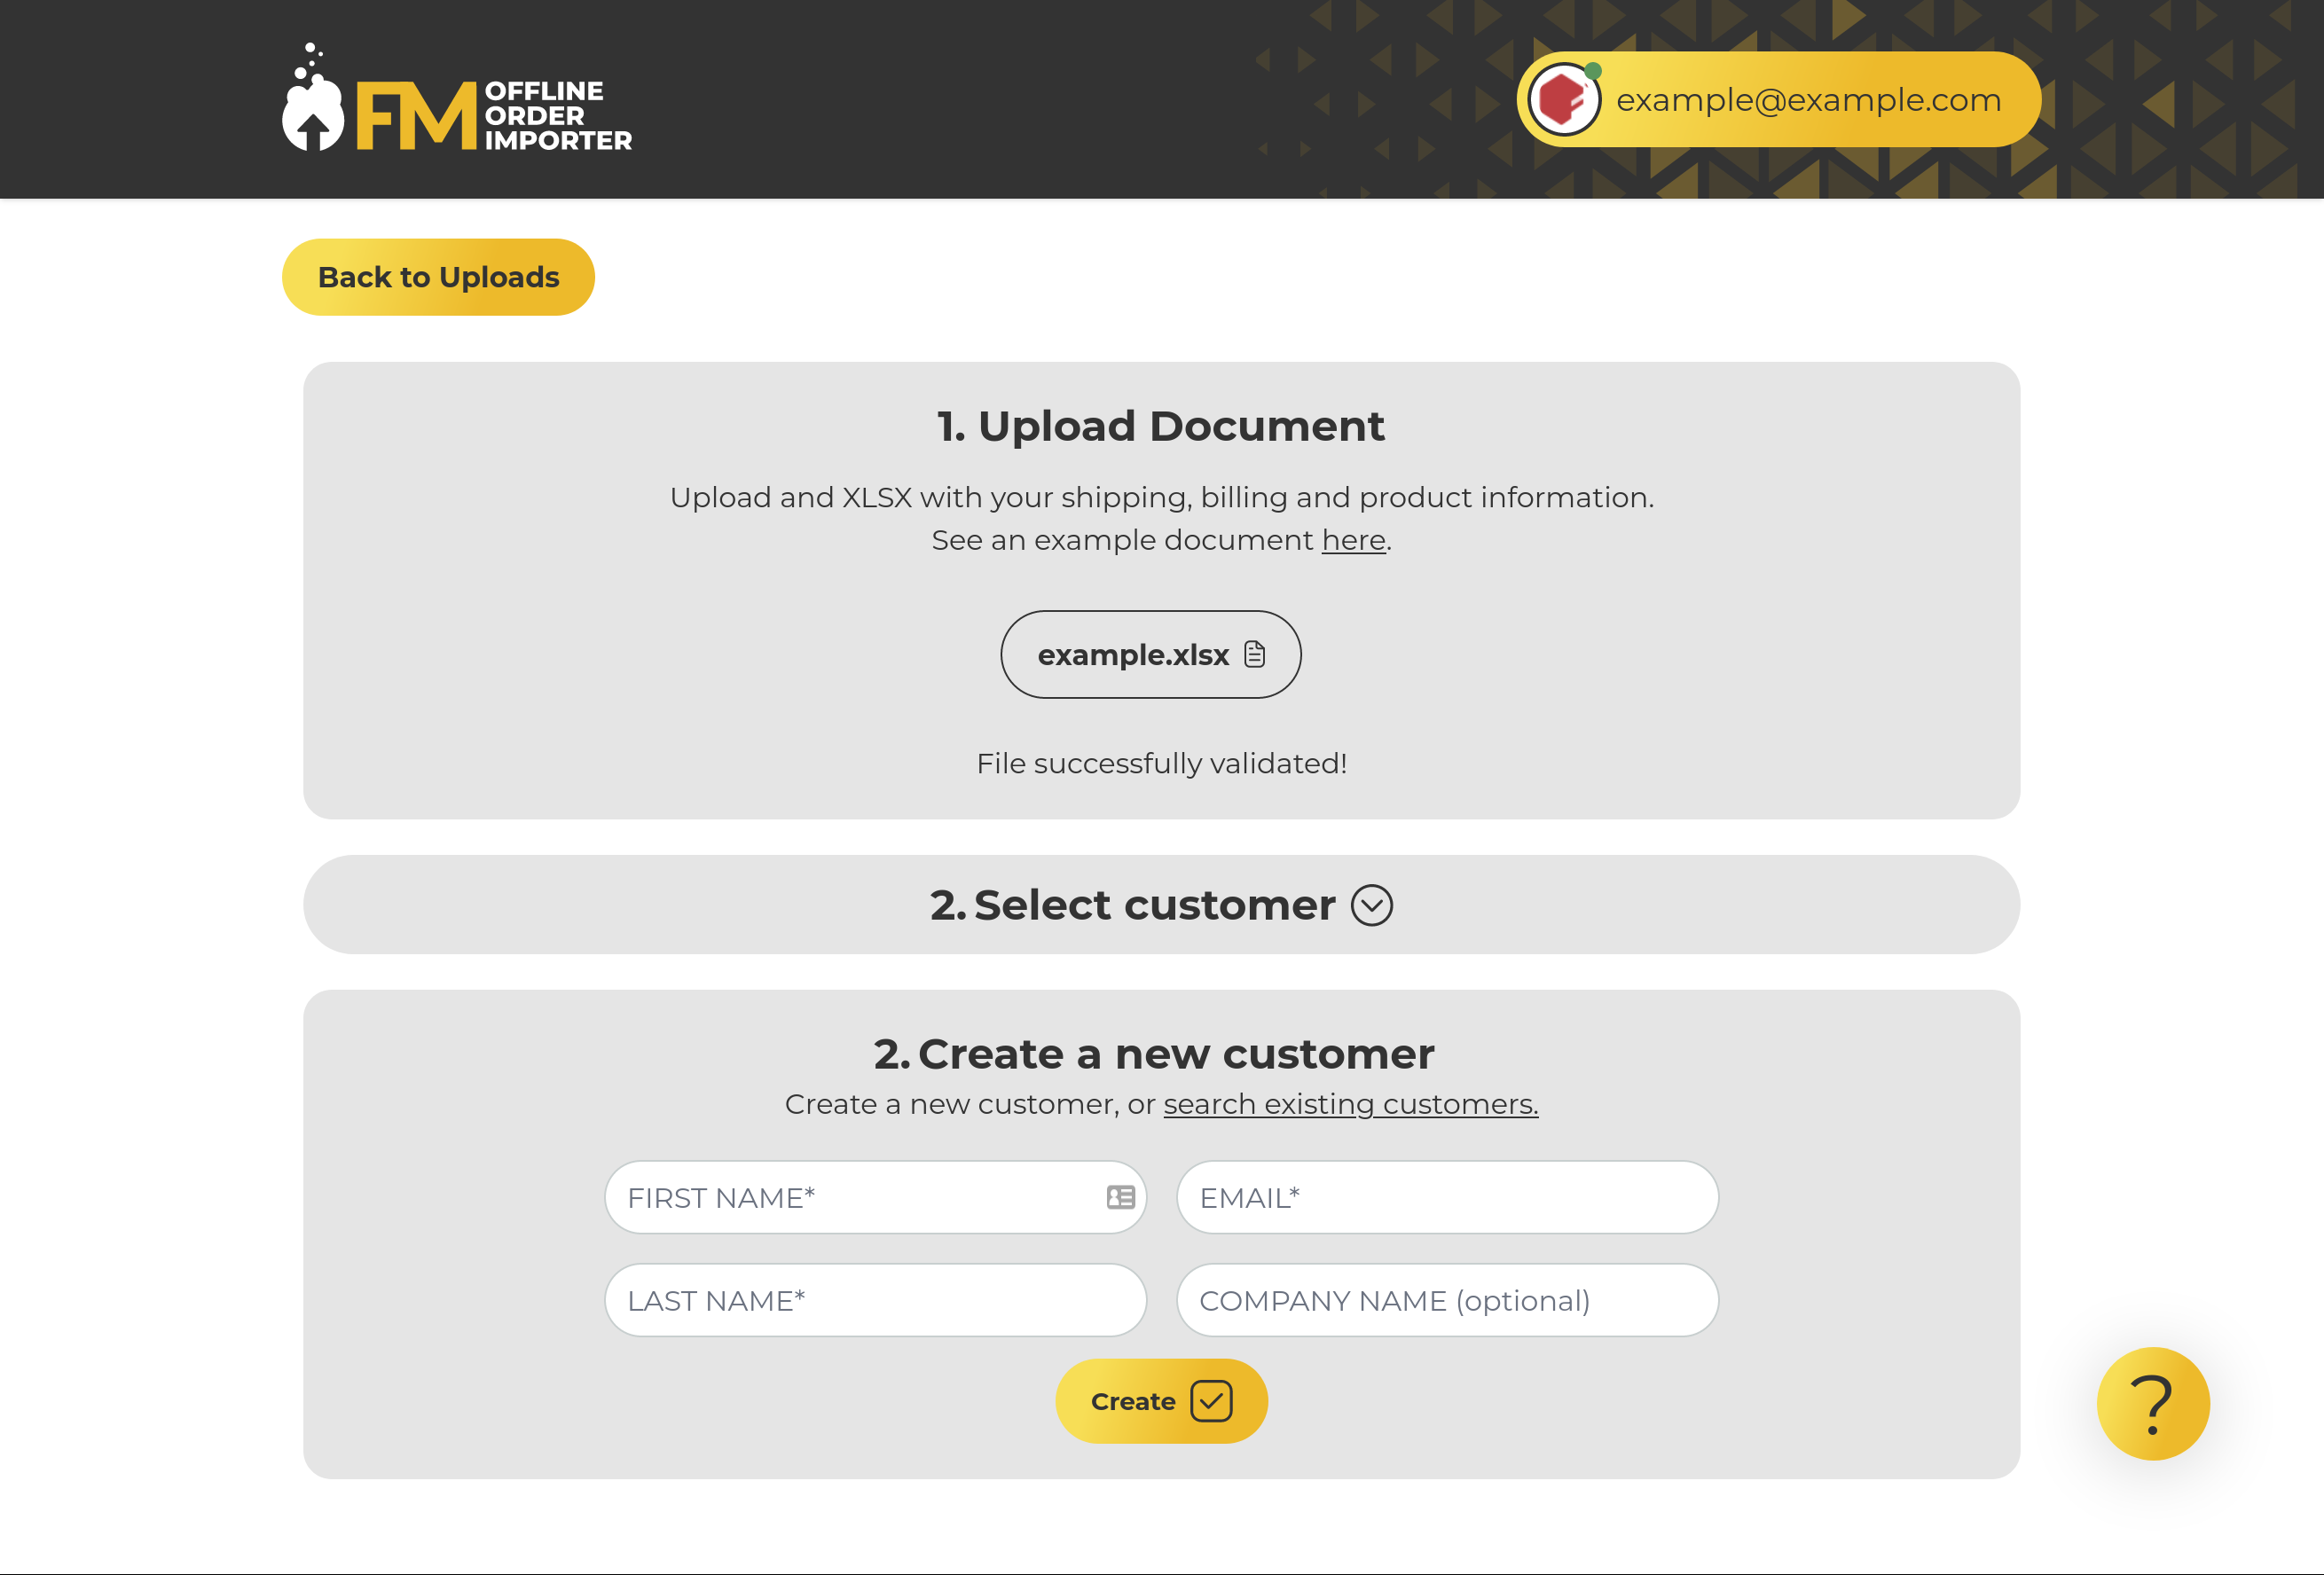
5. Use either the “Select Customer” interface to select an existing customer in your store or the “Create a new customer” interface to add a new customer to your store, then click the “Create” button.
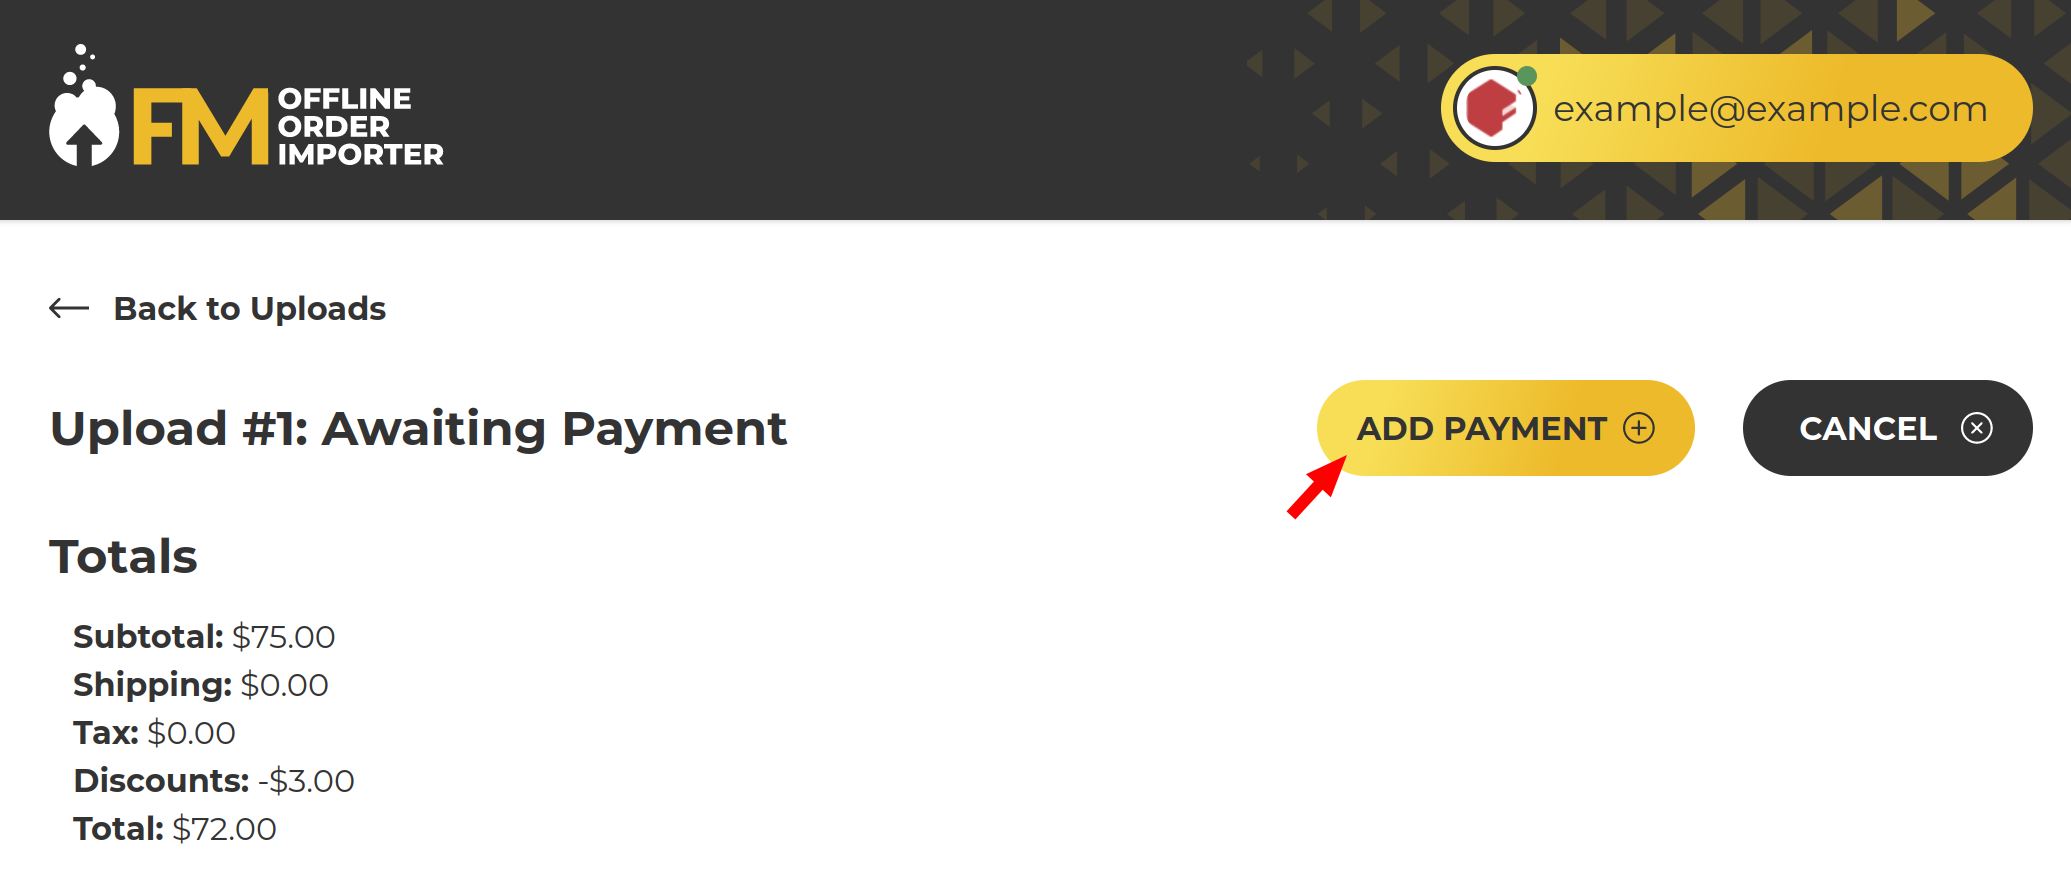
6. After the bulk upload processes click the “Add Payment” button and enter your desired payment method details, and click Submit.
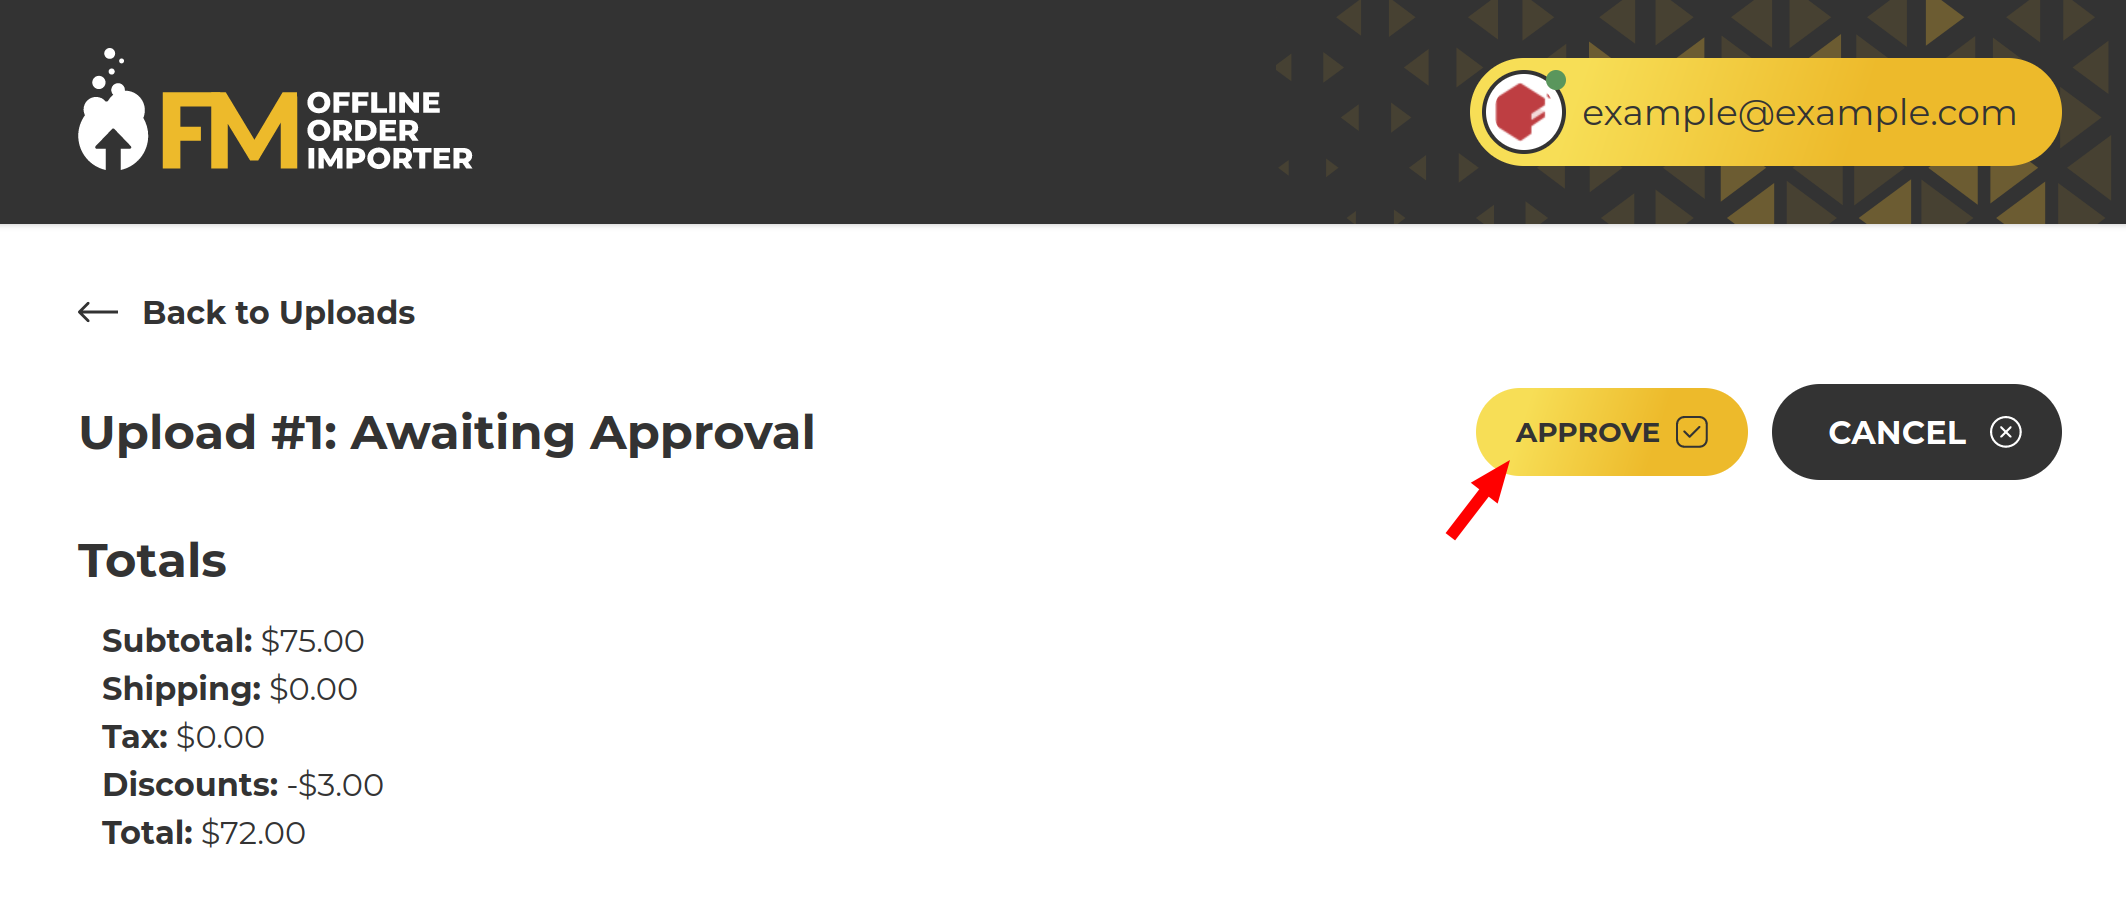
7. Click the “Approve” button to finalize the upload.
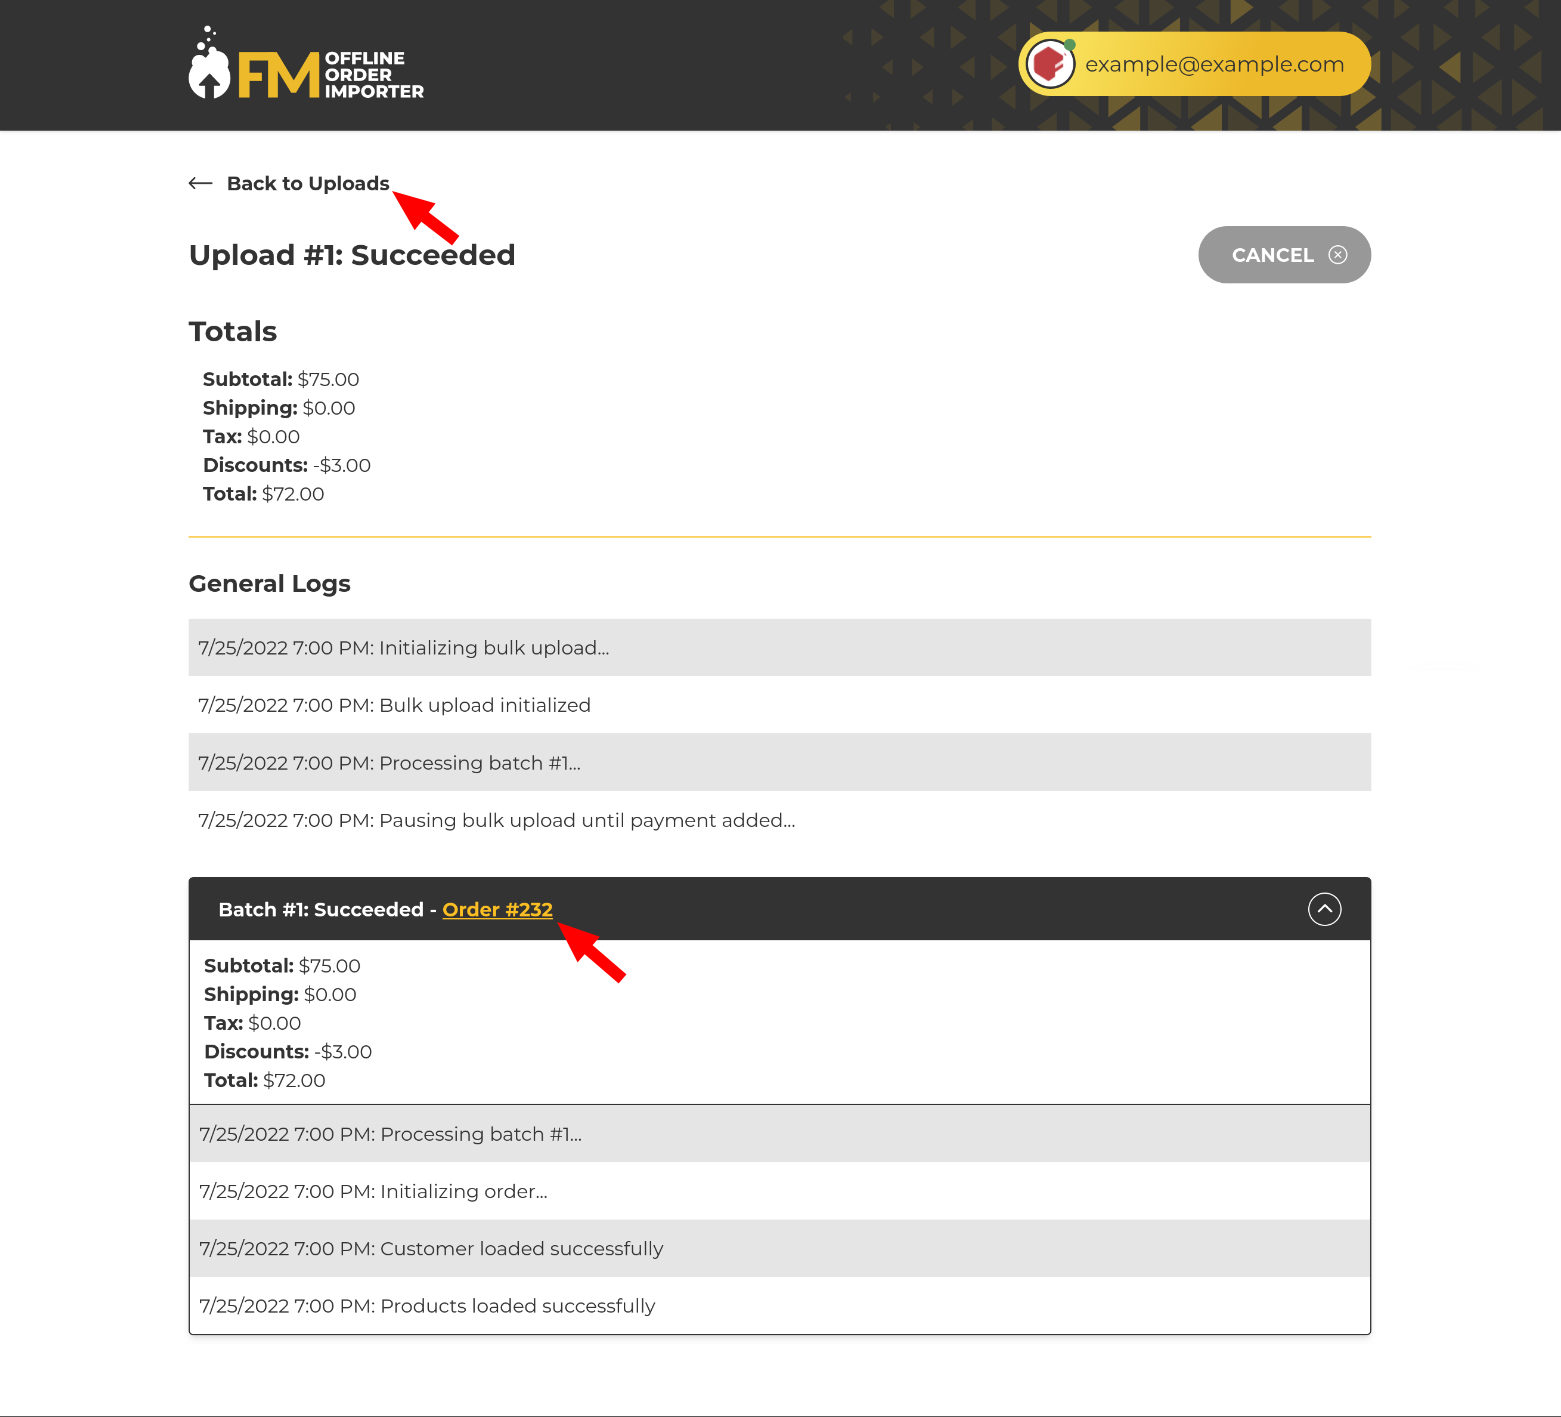
8. On the view upload page you can click on the order number highlighted in yellow to see the details of the order in the BigCommerce admin panel interface. You can also click “Back to uploads” to go back to the upload list screen.
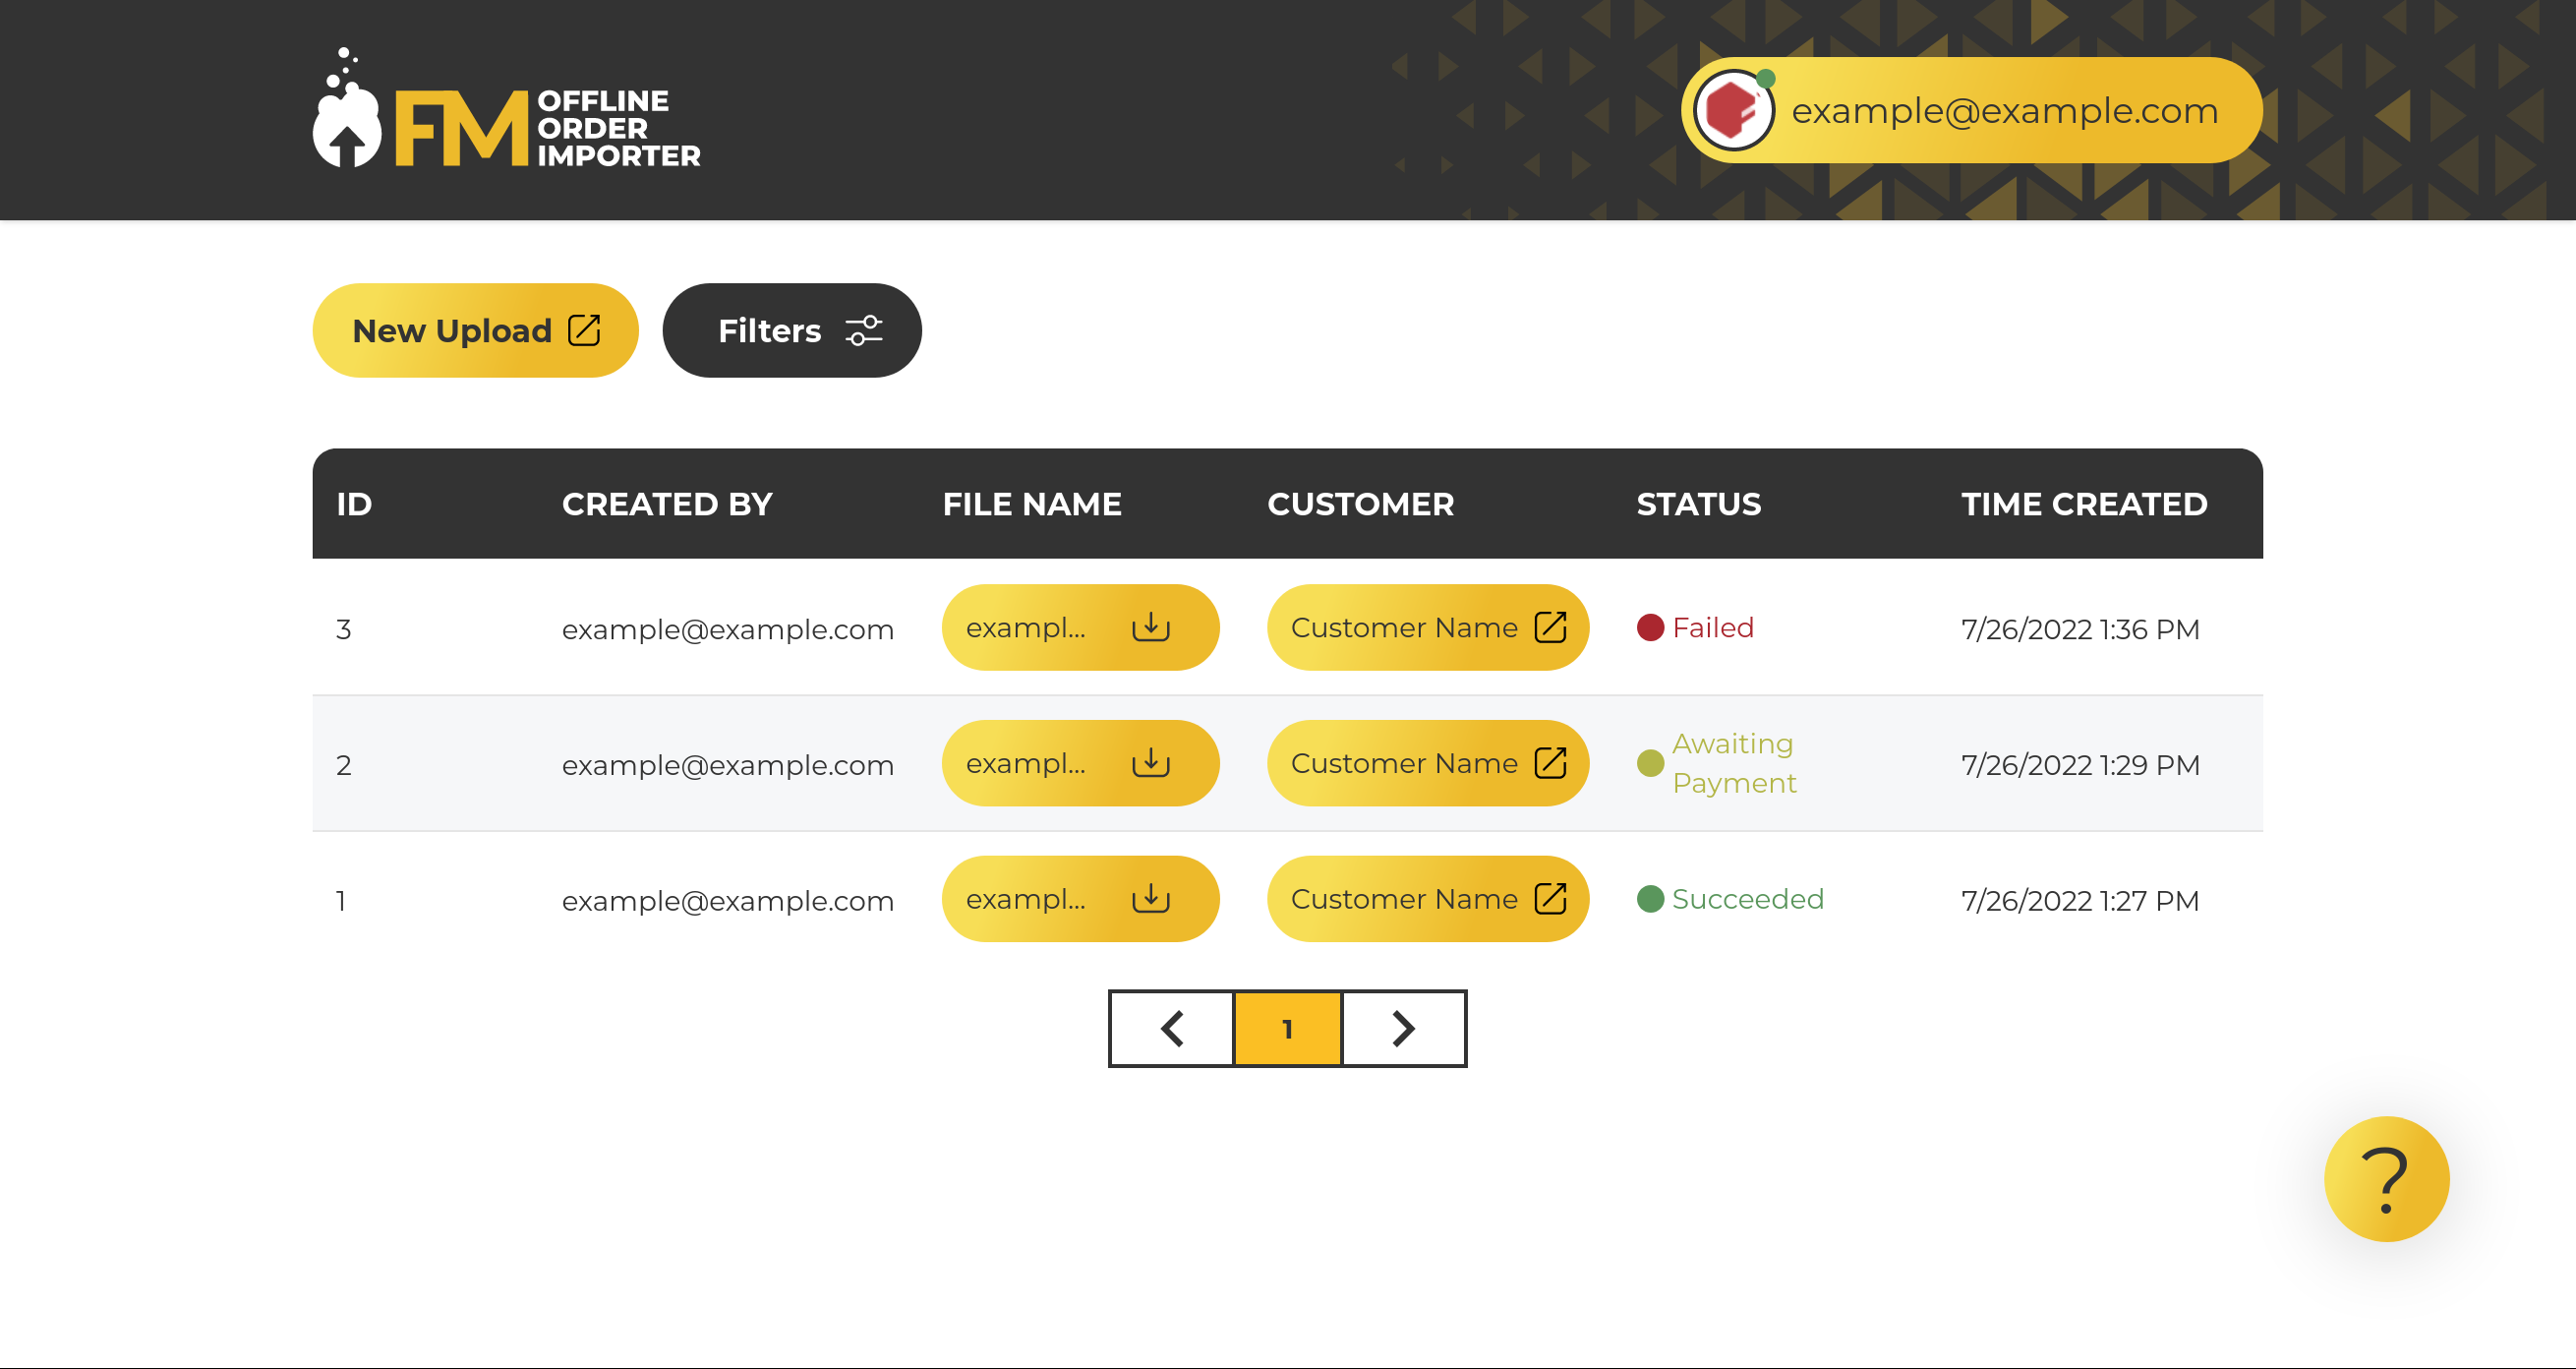
9. On the upload list screen you can click on an upload in the list to open details about it.
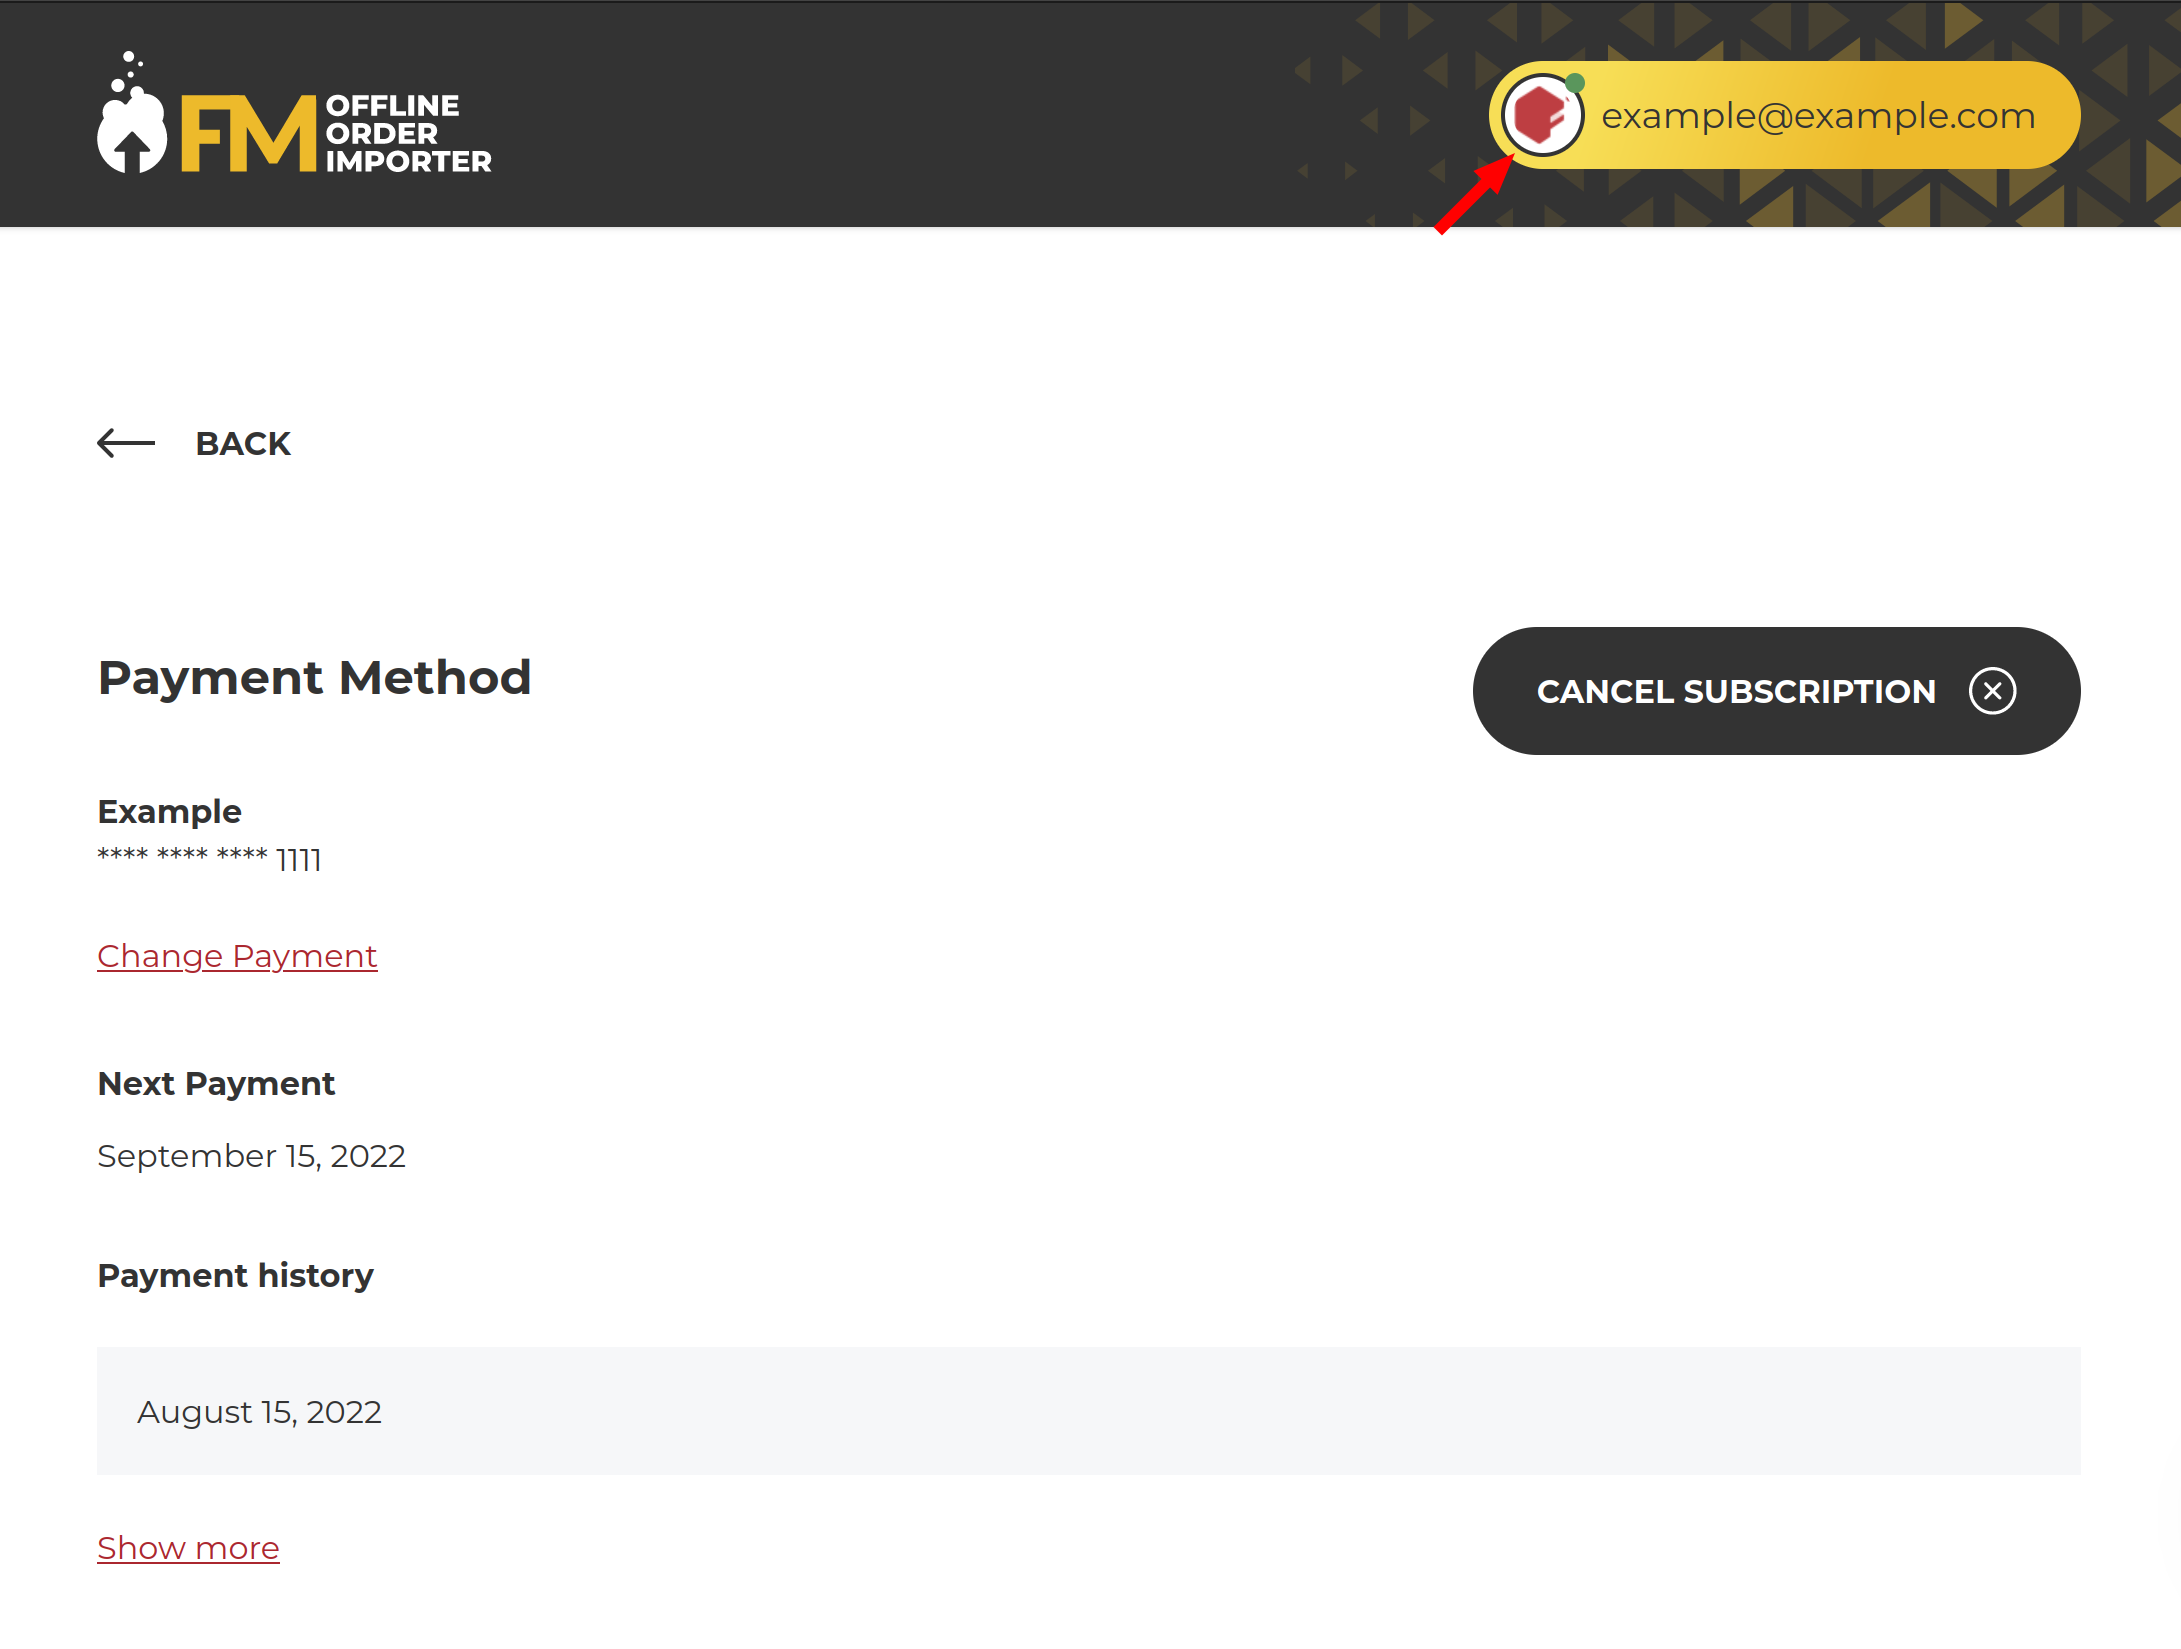
10. If you are the store owner you can click on your name tag shown in the header of the app in order to open the subscription management page to update your payment method or manage your subscription.
